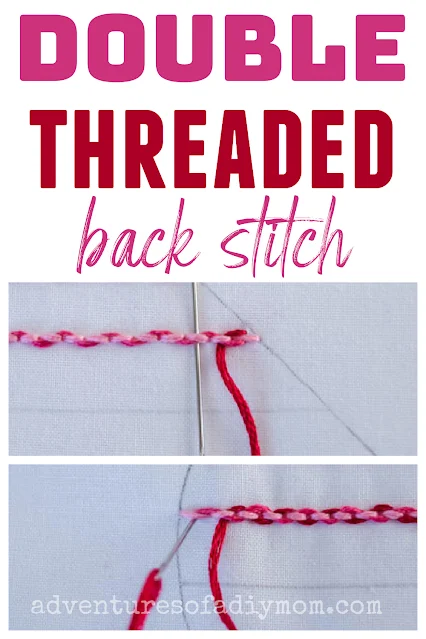
Learn how to sew the double threaded back stitch. This simple stitch is a variation of the backstitch.
It's created by first stitching a backstitch. Then thread is weaved through to create a chain-like pattern.
Sometimes stitches have different names. The double-threaded backstitch is sometimes called the interlacing running stitch.
This double threaded backstitch tutorial is part of the heart sampler stitch along.
If you've ever wanted to learn new stitches, come along with us as we learn a new hand embroidery stitch every day. You'll end up with a cute little heart sampler. It's a great way to improve your skills.
We started off by learning how to transfer embroidery patterns.
After that we learned the following line stitches:
- running stitch
- double running stitch(aka the Holbein stitch)
- whipped running stitch
- double whipped running stitch
- laced running stitch
- back stitch
- whipped back stitch
- threaded back stitch
Next up we will learn the laced back stitch.
DOUBLE THREADED BACK STITCH (EMBROIDERY TUTORIAL)
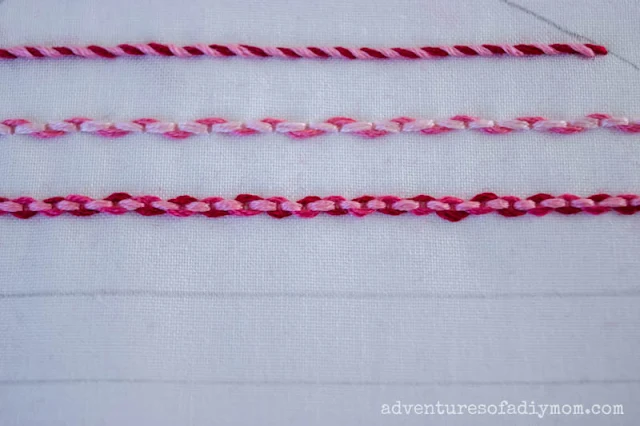
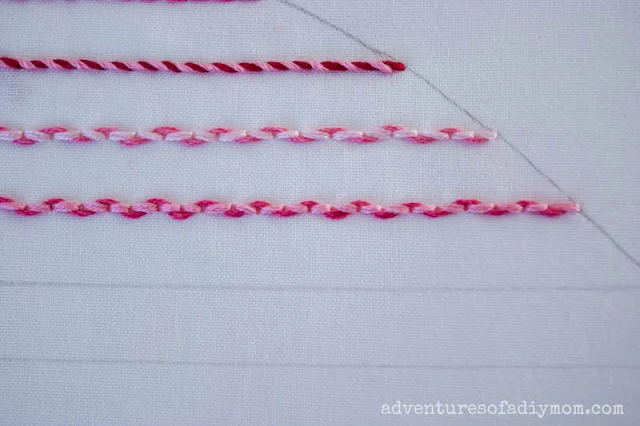
The double threaded backstitch is ideal for outline stitches and are best worked in a straight lines or gentle curves. The stitch can be created using a single color. Or create a completely different look by using two (or even three) colors of thread.
You can adjust your stitch length to create different effects. Or change up how many strands of floss you use.
This post may contain affiliate links. As an Amazon Associate I earn from qualifying purchases. Please see my full disclosure policy for details.
HOW TO SEW THE DOUBLE THREADED BACK STITCH
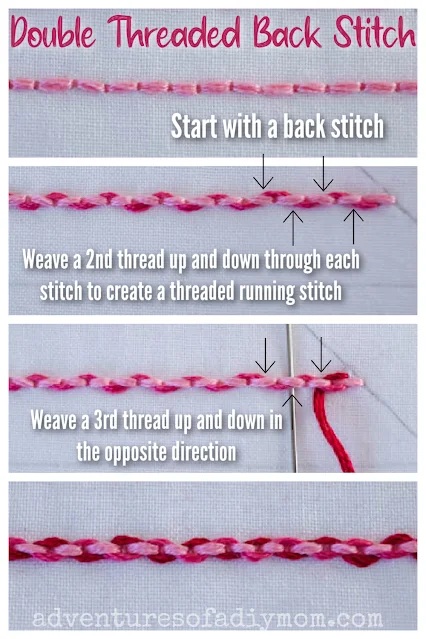
Check out the video tutorial for more details. Begin with a backstitch. You can find the back stitch tutorial here.
Now let's build upon that foundation stitch, to create the chain look.
With a second color of thread, bring the embroidery needle up through the fabric just under the first stitch.
Next weave the thread through each stitch, alternating up and down. This weaving takes place on the top side of the fabric, between the stitch and the fabric.
When you get to the end of the line of stitches, then insert your needle underneath the last stitch and tie off on the back.
At this point you have created a threaded backstitch.
Now with a third color of thread bring the needle up through the fabric. But this time you will bring it up on the upper side of the first stitch.
Then weave down and up through each stitch. Take note that these stitches should be going the opposite direction as the stitches you just did.
When you get to the end, insert the needle under the last stitch and tie off on the back of the fabric.
Note: You can use all the same color of embroidery thread, or two different colors.
Want to watch the video? ↓↓Click the link ↓↓
MORE BACK STITCH VARIATIONS
MORE EMBROIDERY STITCHES
Don't forget to pin it!!






0 comments