The couching stitch is one of the easiest embroidery stitches.
One thread is laid out on the fabric. Another thread (the same color, or a contrasting color) is used to tack it down in place.
There are a few different names for the couching stitch. They include laid thread, Kloster stitch and convent stitch.
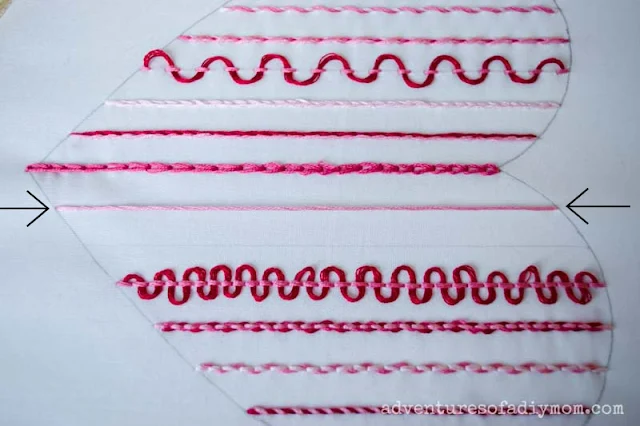
This couching stitch tutorial is part of the heart sampler stitch along. This is the very last stitch of the stitch along.
If you're new to hand embroidery, feel free to jump in.
Begin by learning how to transfer embroidery patterns.
Then learn the following line stitches:
- running stitch
- double running stitch(aka the Holbein stitch)
- whipped running stitch
- double whipped running stitch
- laced running stitch
- back stitch
- whipped back stitch
- threaded back stitch
- double threaded backstitch
- laced backstitch
- split stitch
- chain stitch
- stem stitch
Next, we'll learn how to finish off our embroidery project.
COUCHING STITCH (EMBROIDERY TUTORIAL)
The couching stitch is best used for straight lines. It can be used on curves, but you'll have to hold the main thread in place where you want it as you are sewing the small stitches.
It is a simple stitch traditionally used with metallic thread, but has many applications.
This tutorial will teach you the basic couching stitch. Play around with different types of thread in a variety of colors to create unique looks.
↓ ↓ ↓ PIN IT ↓ ↓ ↓
↑ ↑ ↑ PIN IT ↑ ↑ ↑
This post may contain affiliate links. As an Amazon Associate I earn from qualifying purchases. Please see my full disclosure policy for details.
HOW TO SEW THE COUCHING STITCH
Check out the video tutorial!Generally, the base of the couching stitch is a thick thread. A small, finer thread is usually used to create the couching stitches.
However, in this pattern, I am using all 6 strands of embroidery floss for both the base thread and the tacking stitches.
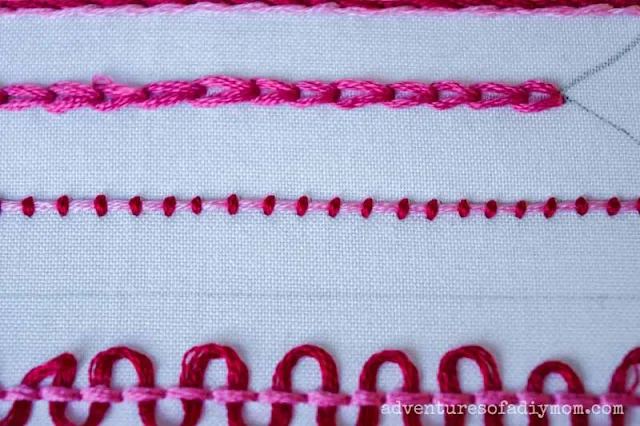
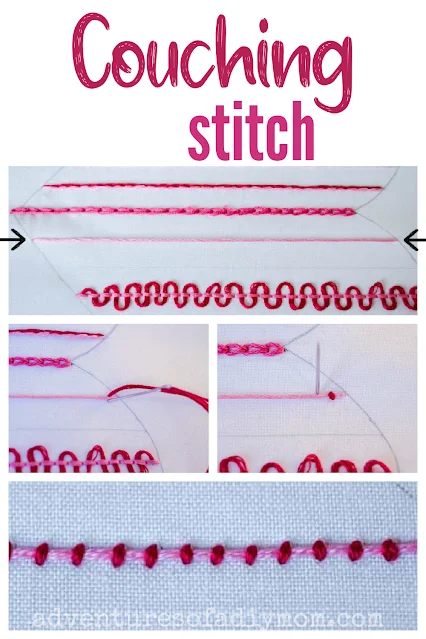
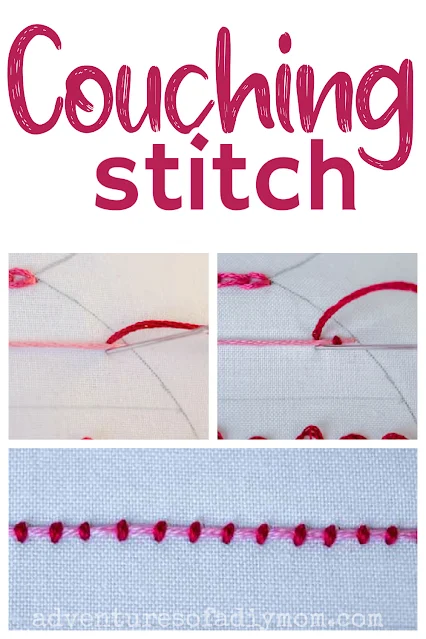
- Begin with your foundation thread. Bring your needle up at one end of the line and put it down on the other end of the line. This will create a long line of embroidery thread on the surface of the fabric.
- Note: I tied the thread to an adjacent line of stitching to secure the thread on the back of the fabric.

Next with a second thread (I used a contrasting thread), add small straight stitches at regular intervals over the top of the base thread.
Want to watch the video? ↓↓Click the link ↓↓
MORE HAND EMBROIDERY TUTORIALS
- satin stitch
- lazy daisy stitch
- french knots
Don't forget to pin it!!


0 comments