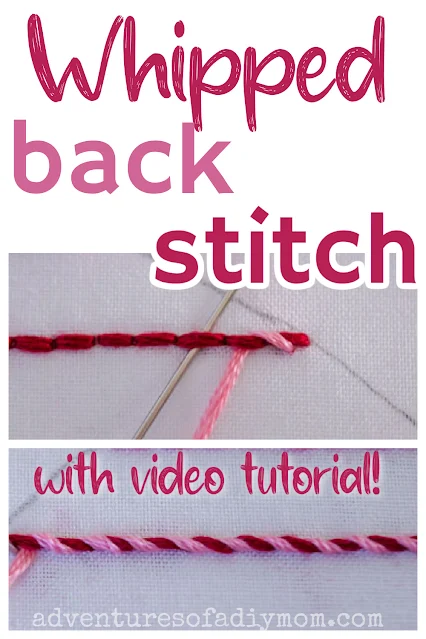
The whipped backstitch is a great way to add texture and detail to your embroidery project. It creates a corded effect with a thicker raised result.
It's a fantastic beginner-friendly stitch that reminds me of bakers twine. It's so cute.
It's a great finishing stitch that will add a lot of charm to your needlework.
You can use the same color of thread for both parts of the stitch for a solid rope-like line. Or use contrasting colors for a twisted effect, with a candy cane stripe look.
The whipped back stitch is great when used as an outline stitch. It can be used to create a straight raised line or gentle curves. Avoid really tight curves with this stitch.
Try adjusting your stitch length for a different outcome.
WHIPPED BACK STITCH (HAND EMBROIDERY)
The whipped backstitch tutorial is part of the heart sampler stitch along. Stitch along with us as we learn new hand embroidery stitches each day.New to embroidery? We started by learning how to transfer embroidery patterns.
So far we have learned the following line stitches:
- running stitch
- double running stitch(aka the Holbein stitch)
- whipped running stitch
- double whipped running stitch
- laced running stitch
- back stitch
Next up we will learn the Threaded Backstitch.
This post may contain affiliate links. As an Amazon Associate I earn from qualifying purchases. Please see my full disclosure policy for details.
HOW TO SEW THE WHIPPED BACKSTITCH
The whipped backstitch is a very easy stitch to create. It's an easy way to add a fun effect to an otherwise simple backstitch.Check out the video tutorial for more detailed instructions.
Begin by stitching a backstitch. You can find the back stitch tutorial here.
I find it's easiest to work from right to left. (If you are left handed, you may find the opposite to be true.)
With a contrasting thread, bring the needle up just under the first stitch.
Weave the thread through each stitch. Always move in a downward direction to create the whipped effect.
It is best to use a blunt needle for this so the point wont snag the thread or fabric.
When you get to the end of the line, insert the needle on the top half of the last backstitch. Secure with a knot on the back of the fabric.
Want to watch the video? ↓↓Click the link ↓↓
MORE BACK STITCH VARIATIONS
MORE BASIC EMBROIDERY STITCHES
Don't forget to pin it!!


0 comments