Learn to laser cut and engrave leather bookmarks four different ways.
There are so many ways to make bookmarks. (You can find a BIG list of different types of DIY bookmarks here.) Today I'm cutting and engraving bookmarks out of leather.
When I received my x-Tool, I knew I wanted to try out cutting leather with it. And what better way to start than with a simple project like a bookmark.
These were really easy to make and it was fun to come up with different variations.
You may also enjoy making these EASY ribbon bookmarks!
Need someplace to store your extra bookmarks? Check out this bookmark box I made.
LASER CUT BOOKMARKS WITH ENGRAVING (4 FREE IDEAS!)
I am not a graphic designer.So, I used the basic features within x-Tool creative space to design these bookmarks. I think they turned out pretty great. And I'll show you the features I used to create each type of bookmark.
I created video tutorials for 3 of the 4. (The last being so simple, it doesn't require one.)
So I will explain the process for each bookmark in this post. But be sure to watch the video for a step-by-step of the design process of each bookmark.
This post may contain affiliate links. As an Amazon Associate I earn from qualifying purchases. Please see my full disclosure policy for details.
SUPPLIES NEEDED LASER CUT BOOKMARKS
These are the supplies that I used for all of the bookmarks.Not all these supplies are needed for each leather bookmark, but I thought it would be nice to keep all this info together.
I will also list the supplies with the instructions for each specific bookmark.
- Laser cutting machine (I have the x-Tool S1 20W)
- leather scraps
- rivets (This kit includes the punch and setter)
- eyelets
- eyelet tool
- leather cord
Be careful with faux leathers. If they contain PVC or vinyl it is not safe to cut. PVC creates fumes of hydrochloric acid that are dangerous to your health. So read the labels. If you aren't sure what a synthetic leather is made of, err on the side of caution and don't use it.
HOW TO MAKE LASER CUT BOOKMARKS WITH ENGRAVING
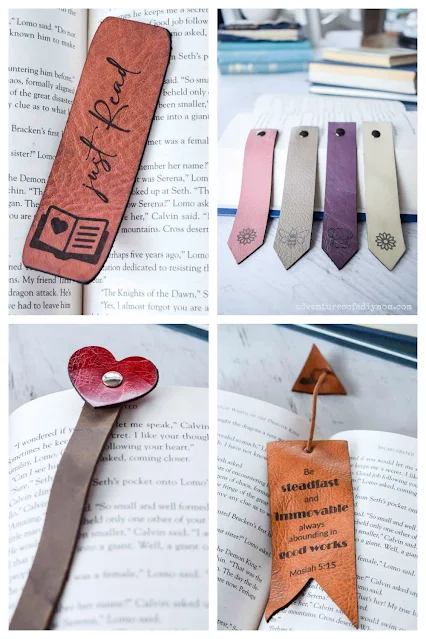
The first bookmark I'm going to share is super simple. For this bookmark, the only supply you will need is some leather and your laser cutter/engraver machine.Here's the video for this bookmark.
In xTool Creative Space, selected the square shape with the rounded corners. Then change the dimensions to 1.5" X 5".
From the other section of shapes, select the book. Place it near the bottom of the rectangle.
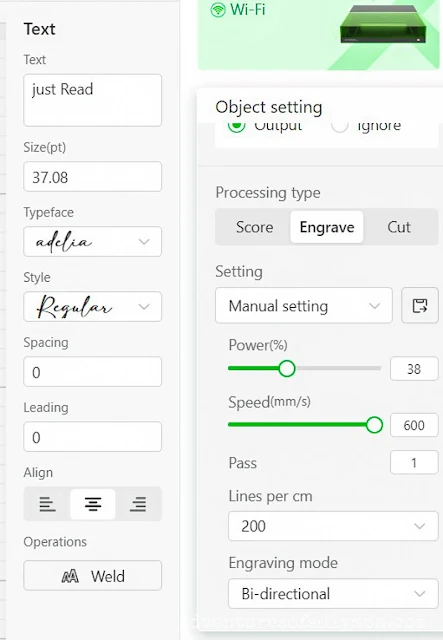
Then select a font (I used Adelia) and write your phrase. Rotate the words 90 degrees.
Set the rectangle to cut. For thicker leather I chose 100 power, 6 speed and 2 passes.
However as I have continued to play around, I have realized that I get less charring using less power. I have used 75 power with success.
There are lots of thicknesses of leather, so play around with your settings on a scrap piece. Thinner leather will only need one pass.
Next select the book and words and adjust your engrave settings. I used 38 power, 600 speed, 1 pass and 200 lines per cm.
LASER CUT AND ENGRAVED LEATHER BOOKMARK WITH TRIANGLE TASSEL
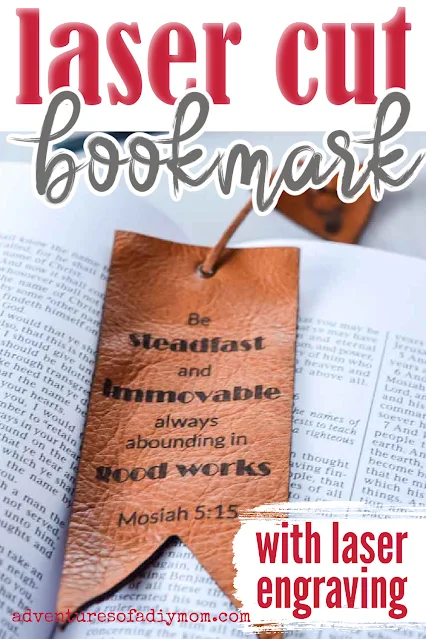
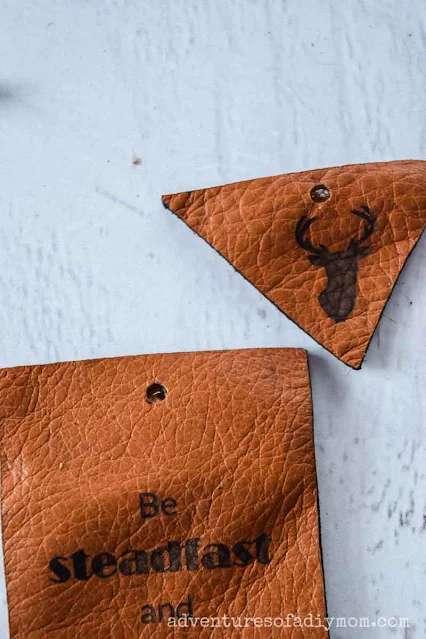
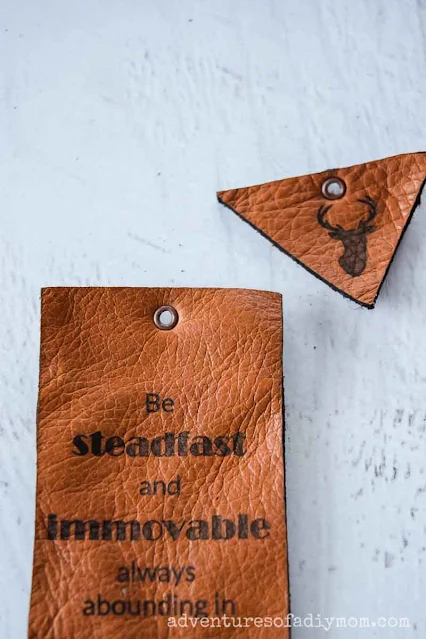
This bookmark is fun because it has a swallowtail pennant look to it. And the triangle that is cut out of the end of the bookmark is tied to the top of the bookmark for a fun unique look.For this style of bookmark you will need leather scraps, eyelets, eyelet tool, and leather cord. This eyelet setting tool comes in real handy for this bookmark.
Begin by designing and cutting out your leather pieces. You can see my video for this process here.
I made this for my missionary son. This is his current favorite scripture.
Next punch holes in the top center of the bookmark and triangle piece. I used the eyelet setting tool. It has hole punches for two different sizes of eyelets.
Next insert the eyelet in the leather and use the tool to secure it in place.
Repeat for both the bookmark and the tassel piece.
Next, cut a piece of leather cording about 6 inches long. Insert them in the holes and tie off on the back.
SIMPLE LEATHER CUT BOOKMARKS WITH RIVETS
This bookmark is so simple and easy to make. It takes just a small scrap of leather, so it's perfect for those tiny pieces that aren't good for much else.For these bookmarks you will need leather scraps, rivets and rivet setting tools make a great addition but are an optional.
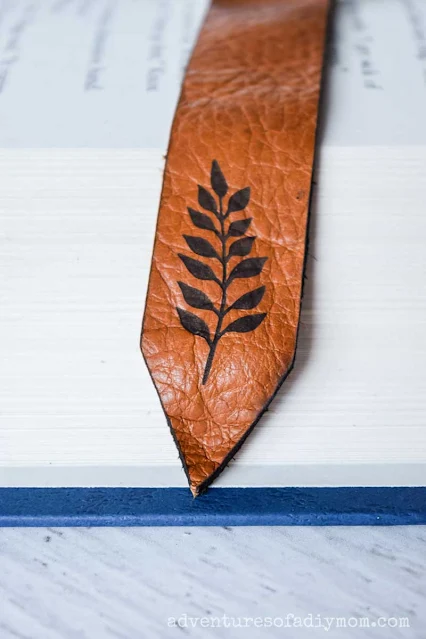
This bookmark starts out with a long skinny piece of leather with a triangle point at one end. A design is engraved into the bottom portion of the bookmark.
Get the details on creating this simple shape in xTool creative space in this video.
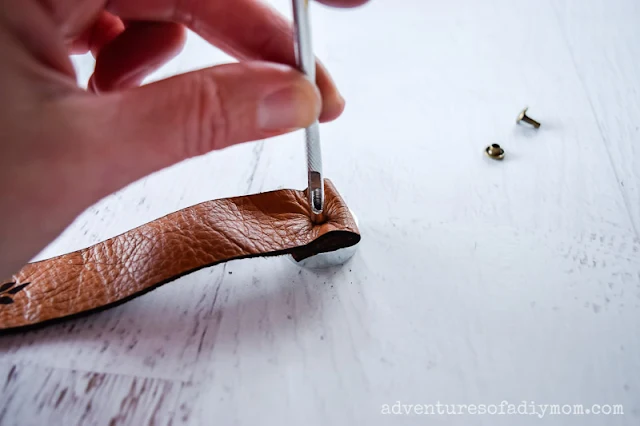
Fold the leather over just a bit at the top and punch a hole in the center.
Add your rivet to the leather.
And there you have a simple, but stunning leather bookmark.
Here are some more bookmarks I created using this technique. You can make them without the rivets. And you can make them without the fold in the leather.
I found engraving turns out different with different colors of leather.
TWO TONED LASER CUT BOOKMARK
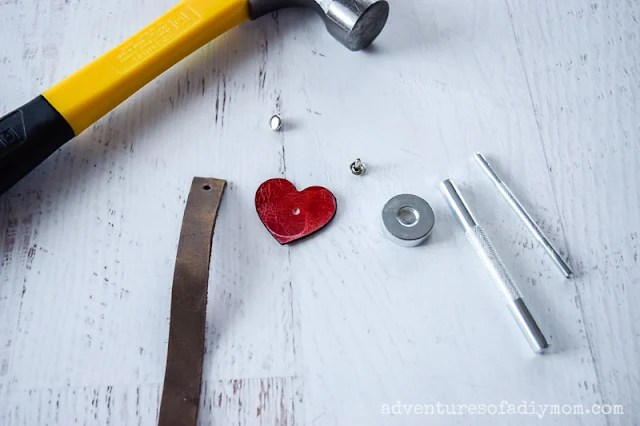
This last bookmark is the easiest of all. It's a great way to use colored leather to create a two-toned effect.These bookmarks require leather scraps and rivets.
Cut a scrap of leather in a rectangle shape that is 1/2" X 8". Then cut out a heart that is 1 1/2" at it's widest point.
Punch a hole in the center of the heart and at the top center of the rectangle.
Connect the two pieces with a rivet.
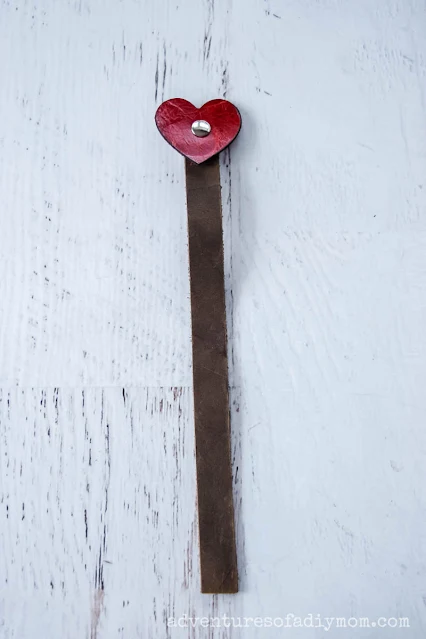
You could try all different shapes for this bookmark. See what you can come up with.
MORE LASER CUT PROJECTS
- Unboxing x-Tool and Beginner Projects
- Pin-point Positioning Feature of xTool S1
- Laser Cut Shamrock
- Laser Cut Succulent Magnets
- DIY Candle with Laser Engraved Lid
- Laser Cut Organizer Drawers
Don't forget to pin it!!











0 comments