I'm super excited to share with you my new craft toy. The xTool S1.
After just a few days of playing around with it, I'm having so much fun creating.
In this post I'll share a few unboxing photos, some of the features and attachments to the S1, a list of materials you can use to create with your new xTool, and a quick getting started video that will walk you through the very basics of starting your first project.
I received the xTool S1 in exchange for a review post. All opinions are mine.
XTOOL S1 REVIEW (UNBOXING, PRODUCT FEATURES & GETTING STARTED)
This post may contain affiliate links. As an Amazon Associate I earn from qualifying purchases. Please see my full disclosure policy for details.
UNBOXING THE XTOOL S1
I have never used a laser cutting or engraving tool before so I was a little bit intimidated. It came sooner than I thought it would and it sat there for a few weeks, while I was finishing up my Christmas shopping.Do you ever procrastinate when you need to learn something new? I shouldn't have worried. It was easy to learn the basics and create some simple projects.
Check out my unboxing video here.
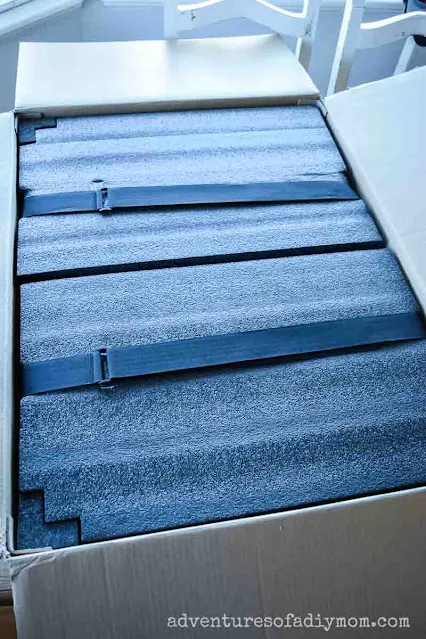
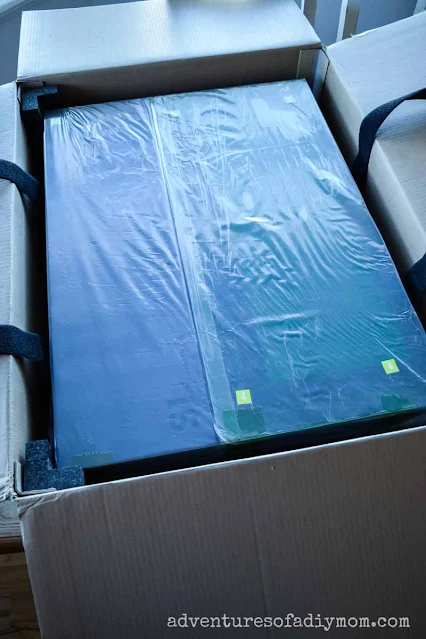
It came very well packaged - encased in foam with velcro straps keeping it all in place.
Since I was the only one home when I opened it, I decided to cut the side of the box off and slide the machine out. It's large and bulky and I didn't want to risk dropping it.
Inside is the laser, cords, instructions, tools and materials pack.
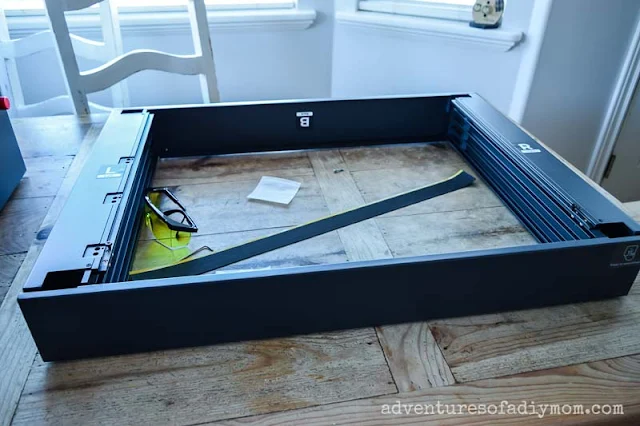
It did take me a few hours to unpackage everything and to assemble and attach the riser base. The instructions that come with it were easy enough to follow and I didn't have any problems with assembly.
Once the riser base was attached, the rest of the assembly was easy. The laser module is secured in place with a few screws. The ventilation hose is attached to the back. Then it's simply a matter of inserting the honeycomb panel and plugging in the cord.
FEATURES OF XTOOL S1
Below are a list of the xTool and accessories that I have.- xTool S1 20W
- Honeycomb Panel
- RA2 Pro 4-in-1 Rotary for cylindrical engraving
- Riser Base (needed for Rotary attachment and Conveyor Feeder)
The following are items I do not have but are great options. I really would like to get the Smart Air Assist. It helps eliminate burn and smoke markings on the wood. The air assist comes with both the basic kit and the rotary kit.
- xTool S1 Smart Air Assist (I did just recently get this and it is a game changer!)
- Automatic Conveyor Feeder
- xTool Safety Pro AP2 - Check out my review here.
Other xTool products:
- xTool M1 - A craft hybrid that includes a laser cutter and a cutting knife for vinyl and other crafts.
- xTool F1 - A portable laser cutter
- xTool P2 - A desktop laser cutter
WHAT MATERIALS CAN THE XTOOL S1 CUT?
The xTool S1 is very versatile. So far I have only cut and engraved on wood.But I have some acrylic and some leather that I'm going to try soon.
Plus I still need to unbox the rotary attachment and try engraving some tumblers and other round objects.
Below is a list of the materials you can cut and engrave with the S1:
- Wood
- Leather
- Acrylic*
- Paper
- Rubber
* Due to the blue wavelength the diode laser utilizes, you cannot cut clear or blue acrylic. Other colors work fine.
Check out xTools material settings page for the details on what settings to use for the different materials.
Tip: For inexpensive wood to cut or engrave check out your local dollar store. I found large 10" snowflakes, stars and circles that I could use. You can engrave on the shape as it is, or you can cut out completely different items from it.
GETTING STARTED WITH THE XTOOL S1
Before you can make anything, you do need to download xTool Creative Space. I've created a video on the very basic things you need to do to get started.This was probably where I struggled the most, figuring out how the software works. It's actually not that hard once I figured out what the features do.
But I didn't find a lot of clear instructions explaining it. Hopefully my little tutorial will help.
Want to watch the video? ↓↓Click the link ↓↓
MY FIRST PROJECTS WITH THE XTOOL S1
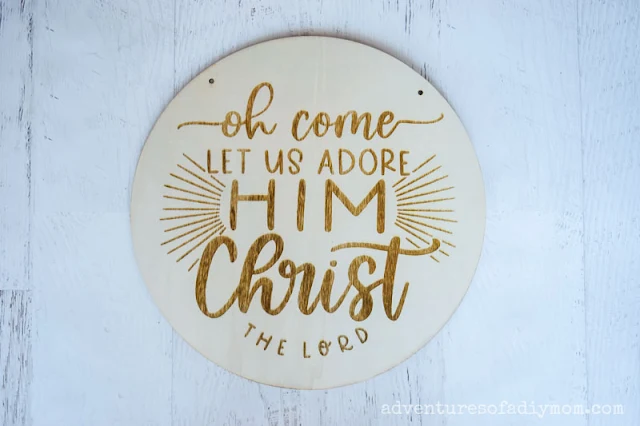
The very first thing I did was engrave on this circle wooden sign that I got from the dollar store.I love how this turned out. I need to add a cute ribbon to it so I can hang it.
You can find the svg file in this bundle on Etsy.
Since this is such a large sign, it took about half an hour to engrave it. Then, before moving the wood, I opted to repeat the engraving to make it more defined.
Next I decided to try cutting. So I cut out these hearts and stars. I engraved "From the Nielsen's" on them intending to use them as gift tags. I used a dollar tree wooden ornament for my wood.
I used the shapes in the software. You can see that I didn't pay attention to the size of the circles, so my holes for attaching the tags are pretty big. They look a little goofy, so I probably won't use them. But it was a good lesson learned.
I then played around with the settings for engraving on these little snowmen I got from the dollar store.
This was a good way to figure out how much power and speed to use when engraving. It differs depending on what wood you use, but it's a good way to get a starting point.
My next project was to create this ornament. My son is serving a mission for our church in Riverside California, Spanish speaking. He actually just arrived there today (Dec 15) after learning Spanish for 6 weeks.
So I thought it would be fun to have an ornament to remember with. I'm thinking now that maybe I should have added his name and/or the year. But I can easily make another!
Suncatcher Studio has all 50 states in SVG format. They even have a few options like this one within a circle and I was able to edit the text as well.
Then I simply added an ornament shape to cut out around the circle.
So this project included all the cutting/engraving options. The circles were scored, the words were engraved and the California shape and ornament were cut.
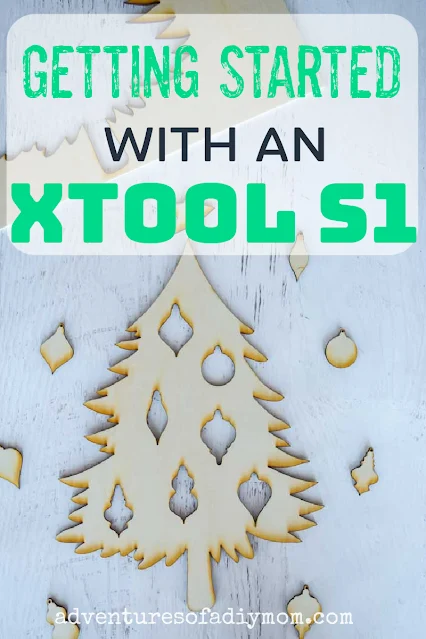
Next, I had a fun idea for a Christmas tree with the ornaments cut out of it. I found a tree and star shape in the xTool creative space software. The ornaments were a free file I found here.
My plan is to mount the tree to a backdrop and paint behind each ornament a different color.
You can see there is a lot of smoke burn on the tree on the left of the image. I took a sander to it and that's what you see on the right.
I think the burned edges give it kind of a vintage look, but I was curious how hard it would be to sand it off. With an orbital sander, it comes off quickly. Doing it by hand would take quite a bit of time.
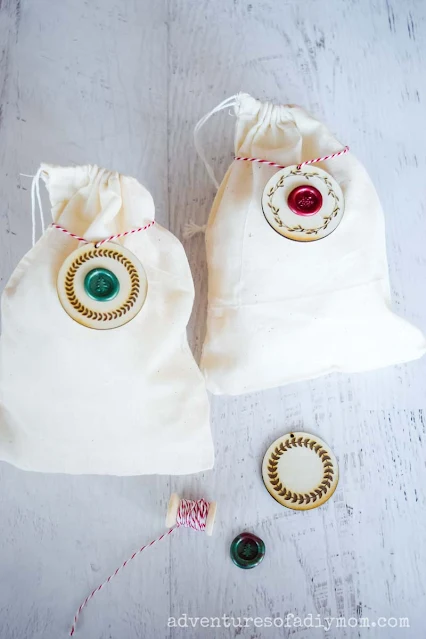
The last items I played around with were some cute tags/ornaments with fun wreaths engraved on them.
I used these free files from freepik.com to create these wreaths. Some of them I left with the cute shapes in the middle. The larger ones, I removed the middle image and added a wax seal to add a pop of color to the tag.
I also played around with the borders that come with the design software. They have some cute ones.
As I said, I haven't used any laser cutters/engravers before. But the xTool is all I expected and more.
It is rather large. I love that there's plenty of room inside for large projects, but it does take up a lot of space. Currently it's sitting on my kitchen table and it takes up half of it. However, I plan to move it down to the basement soon. There are several other options if you don't want something so large.
In conclusion, I think the xTool S1 is fantastic. Despite my fears, it is actually pretty easy to use. I've had a lot of fun dreaming up and creating projects. And will continue to try other materials and make more projects.
MORE LASER CUTTING AND ENGRAVING PROJECTS
Don't forget to pin it!!







0 comments