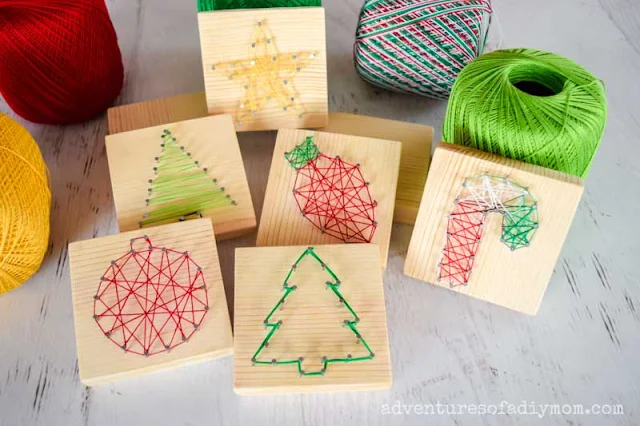
Christmas string art is a fun activity you can do this holiday season. It's easy to do and fun to display.
I'll share step-by-step instructions and a few tips to help the process go more smoothly.
I've included a free printable template you can use. Or feel free to come up with your own designs.
CHRISTMAS STRING ART
We did this last year for a young women's activity.
I prepped the wood ahead of time and the girls pounded in the nails and wrapped the string around them.
This easy craft is ideal for older kids, tweens, teens and adults. Little kids could probably do the wrapping, but would need help pounding the nails and tying off the string.
This post may contain affiliate links. As an Amazon Associate I earn from qualifying purchases. Please see my full disclosure policy for details.
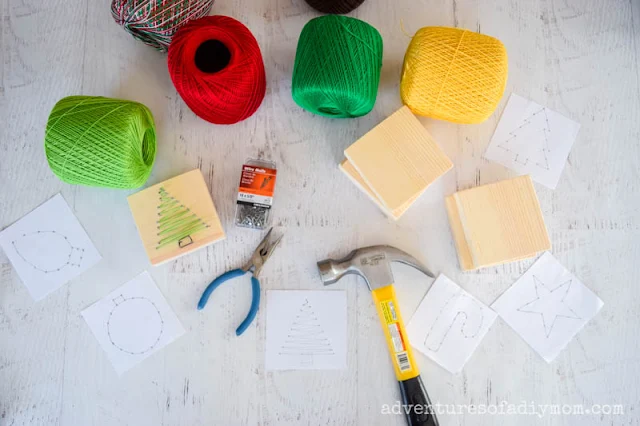
SUPPLIES NEEDED CHRISTMAS STRING ART
- 3 1/2" X 3 1/2" wood blocks, or wood slices
- 5/8 inch nails
- crochet thread in various colors
- hammer
- pliers (optional, for holding the nails)
- tweezers (this can be helpful to remove paper)
- scissors
- string art pattern
- paint (optional)
- ribbon (optional, to create a diy string art ornament)
Wood blocks
I used a 1 X 4. Although it is called a 1 X 4, the actual dimensions are more like 3/4 X 3 1/2. So I cut the wood down into 3 1/2 inch lengths to create a square base.Once I cut the wood, I sanded both sides and all the edges to make sure the whole block was smooth.
Another option is to purchase wood slices, or make your own wood slices.
Nails
Ideally, half of the nail should be pounded into the wood with the remaining portion sticking out.I used nails that were 18 gauge and 5/8 inches long.
Crochet Thread
The best string to use for string art is crochet thread. You can use a #8 or #10 thread. Use a variety of Christmas colors. One way to save a little money is to buy a pack of a variety of colors in smaller skeins. This pack has 15 colors. Use some now for your Christmas string art and save the rest for other seasons.I don't recommend embroidery floss. The strands can come apart as you're working and you are limited to how long the strand is.
CHRISTMAS STRING ART TEMPLATE
Below is a free template for various holiday shapes..jpg) |
| Christmas string art free template |
Simply click this link: Free Christmas String Art Template. Or click on the image.
HOW TO MAKE EASY CHRISTMAS STRING ART
Prepare your piece of wood as explained above. If you wish to paint the wood, do that before adding any nails.Print off the template and cut a square around the design you want to make.
ADDING THE NAILS FOR STRING ART
Now it's time to add the nails to the wood.- Place the pattern on top of the wood block.
- Pound the nails right through the paper into the wood. The dots on the template show where to place the nails.
- Remove the paper.
Tip #1 Use a pair of pliers to hold the nail in place while you hammer them in place. The nails are small and it's pretty easy to hit your fingers by mistake.
Tip #2 Add the nails in the middle before you do all of the surrounding nails. This makes it easier to hold them in place.
Tip #3 Once all the nails are in, tap them all in to the same height.
WRAPPING THE STRING FOR YOUR STRING ART PROJECT
Next, wrap the thread around the nails.- Tie the string to one of the nails and clip the short end. (Use a square knot)
- Outline the shape with the string by wrapping the string around each nail all the way around the shape.
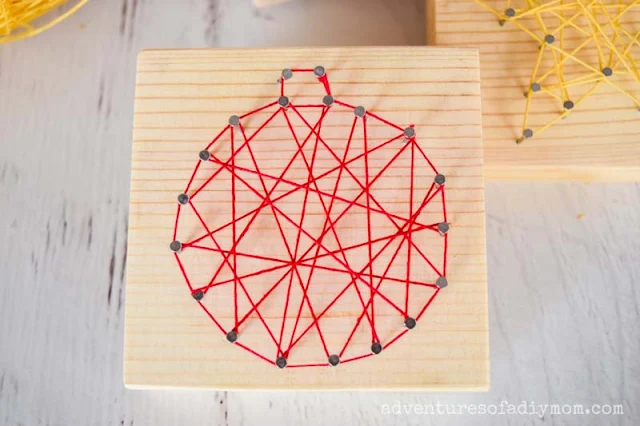
- Once the outline is in place, fill in the center. Wrap the string from side to side and top to bottom to create a criss cross look.
- Carefully tie the end around one nail, making sure to keep the string tight. I usually do about three knots to make sure they stay.
- Clip the end.
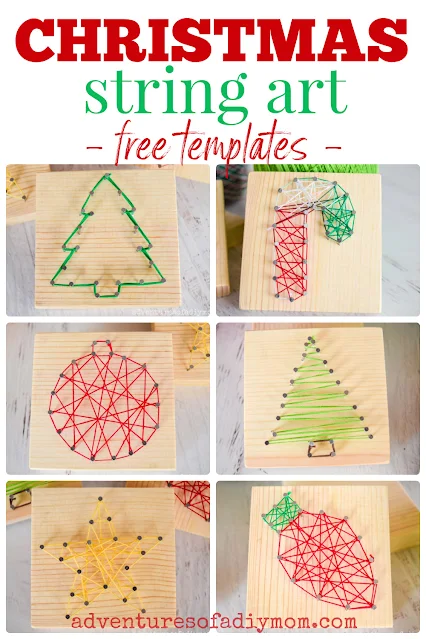
This is the finished Christmas light string art. Using a combination of two colors makes for a fun contrast.
This candy cane string art was made using variegated thread. I tried to keep the red, green and white in their own section. But you could have it be totally random too.
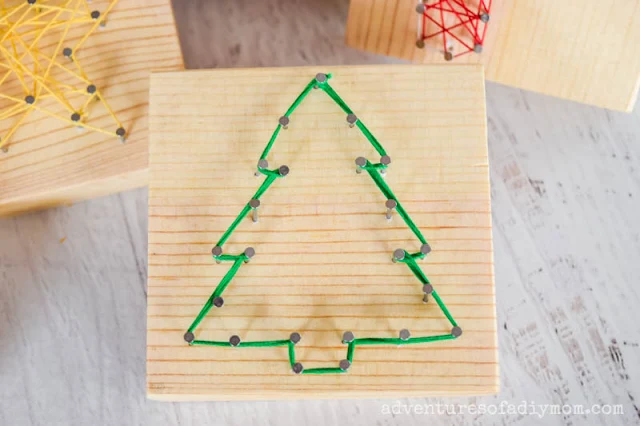
For this string art Christmas tree, there is no inner crisscrossing. I went around the whole tree 4 times to create a bolder outline.
This Christmas ornament version is an example of using just one color throughout.
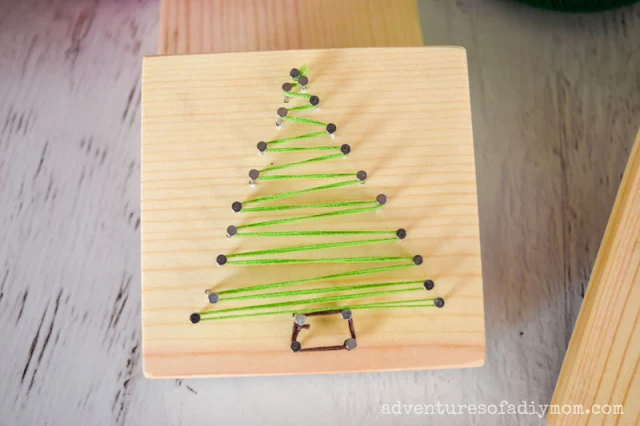
I love the look of this zigzag string art tree. Start at the top and follow the lines on the Christmas tree string art pattern. Once you get to the bottom, work your way back to the top of the tree.
I didn't outline this tree with string.
I love this star pattern. However the yellow color doesn't pop. It kind of blends into the wood.
One way to fix that would be to paint the wood first. If I were to do this over, I would probably paint the wood white before adding the nails and string.
I'd love to see what you come up with! Send me a picture (contactdiymom@gmail.com) or tag me on Instagram @adventuresofadiymom
MORE CHRISTMAS PROJECTS
- Candy Cane Tree Topper
- Christmas Sharpie Mugs
- Salt Dough Gingerbread Ornaments
- Wood Slice Nativity Ornaments
- Wood Burned Ornaments
- Acrylic Ornaments
Don't forget to pin it!!






Looks so fun. Must try. Thank you so much
ReplyDelete