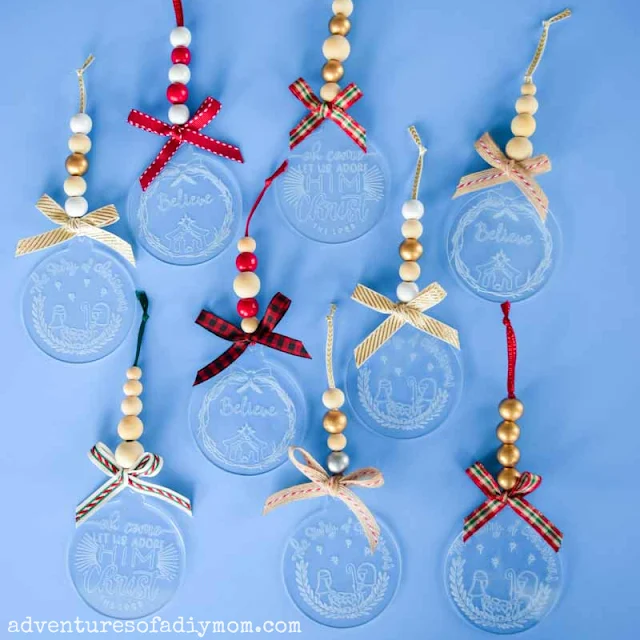
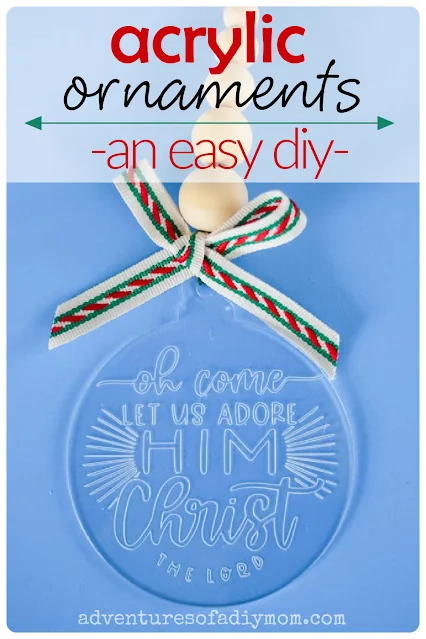
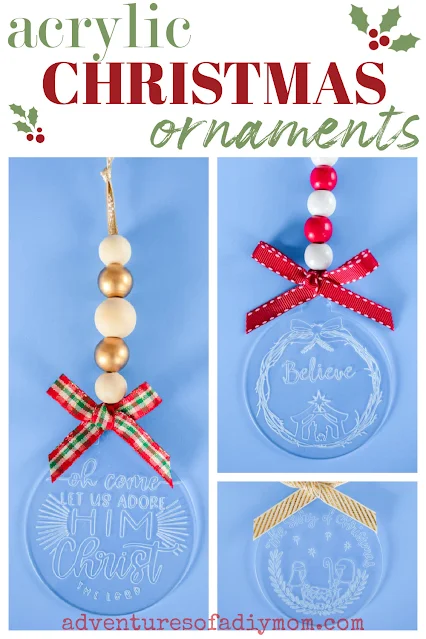
Make your own acrylic Christmas ornaments with this easy tutorial.
These ornaments are engraved and then embellished with wooden beads and ribbon.
A quick and easy DIY project to make this holiday season. It also makes a great gift for neighbors, friends or loved ones.
ACRYLIC CHRISTMAS ORNAMENTS (A QUICK AND EASY DIY!)
I've been wanting to try the engraving tool on my Cricut for quite awhile. I was intimidated because it was something new and I didn't exactly know how it would go.Do you ever do that? Put off a project because you're not confident in how it will turn out? I do it all too often.
Don't put off engraving any longer. It's easy and fun!
We put these ornaments together for part of our young women's Christmas party. I etched the designs beforehand and the girls added the ribbons and beads to make their own special ornament.
This post may contain affiliate links. As an Amazon Associate I earn from qualifying purchases. Please see my full disclosure policy for details.
SUPPLIES NEEDED TO ENGRAVE THE ACRYLIC ORNAMENTS
You do need to have a Cricut Maker to be able to use the engrave function.- Cricut maker
- Cricut strong grip mat (purple)
- acrylic ornaments or clear acrylic disks
I am not a graphic designer. So I often turn to Etsy to find SVG files I can use in my projects. They are pretty inexpensive and are automatic downloads, so I can start the project right away.
Below are the SVG files I used:
Type "round ornament svg" into the search bar in Etsy to find LOTS of different options. You could also search google or pinterest for free svgs.SUPPLIES NEEDED TO ASSEMBLE THE ORNAMENTS
I used ribbon that I got from Hobby Lobby and Joann.I used a variety of wooden beads.
The red and white beads were found in the Christmas section of Hobby Lobby.
The natural wood beads and the gold and silver beads were both from Amazon. I've included links to them below.
When looking for wooden beads online it's hard to tell what size they are from the pictures. I recommend getting beads that are between 10-18mm for this project.
- etched ornaments
- 1/8 inch ribbon, string or twine
- 3/8 inch ribbon
- wooden beads, various sizes
- 16mm silver and gold wood beads
HOW TO ENGRAVE ACRYLIC ORNAMENTS USING A CRICUT MAKER
First, engrave the acrylic blanks.Remove the plastic protective layer from the top of the ornament. I leave the protective film on the back side until I've finished engraving it.
Determine where you will place the ornament.
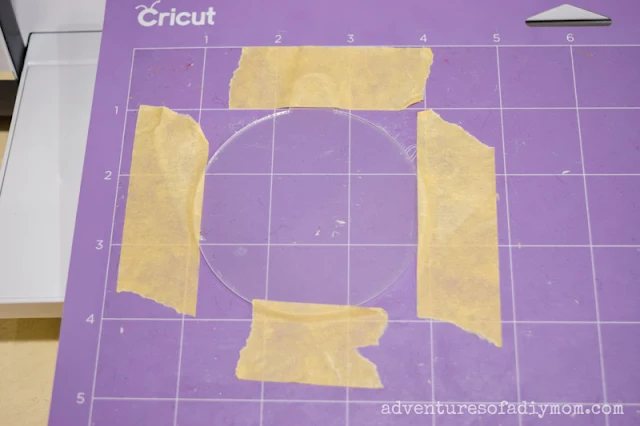
I lined up the edges of the ornament so the edges were close to the 1 and 4 inch lines both vertically and horizontally.
Since these ornaments are not quite 3 inches wide, there is a little bit of room between the ornament and line, I tried to get the spacing as even as possible.
Once the ornament is placed, add some masking tape along all four edges. Be careful that the tape is close to the edge so it doesn't interfere with the engraving.
Many of the tutorials I've seen use tape all the way around. I don't think that is necessary. I've made dozens of these ornaments and 4 pieces has worked fine for me.
I even reuse the tape for the next ornament. I simply lift the tape enough to remove the ornament and insert the next one.
Now head to Cricut Design Space.
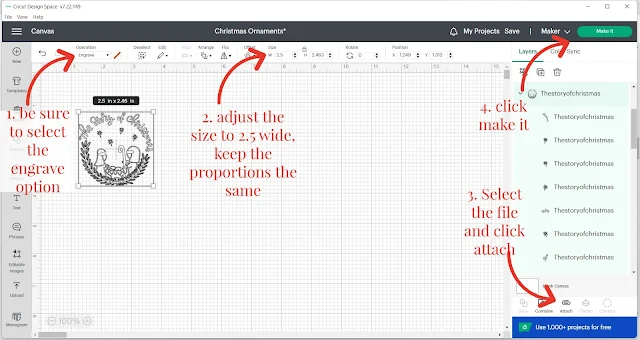
Upload the file and open into a new project.
Select the engrave option.
Adjust the width to 2.5 keeping the proportions the same.
Select the image and click attach.
Click make it.
Be sure to click mirror the image (Especially if there are words in your image)
Center the image between the 1 and 4 inch lines.
Click continue.
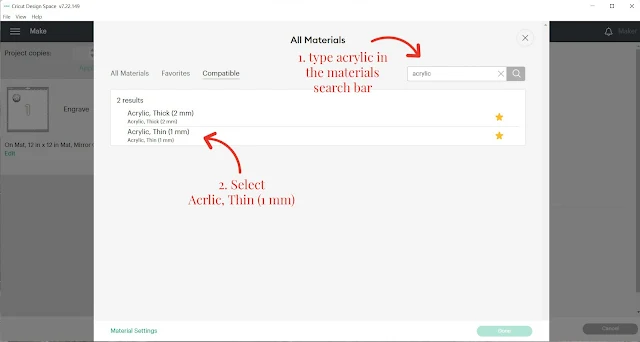
Now it's time to select the material. In the search bar, type acrylic.
It will bring up two options. For these ornaments, I used the 1 mm thin option.
Make sure you have the engraving tool in the machine, insert the mat and let the Cricut do it's magic.
Remove the tape from the edges of the ornament. You can use the sticky side of the tape to clean up the tiny shavings on the ornament.
ASSEMBLING ACRYLIC ORNAMENTS
You could simply hang the ornaments with string, but it's fun to add some embellishments.Mix and match ribbon and beads to come up with different color schemes to match your décor.
Thread the 1/8 inch ribbon through the ornament.
Insert both ends of the ribbon through the wooden beads. Slide the beads down to meet the ornament.
Tie a knot at the top of the ribbon.
Tie the 3/8 inch ribbon around the smaller ribbon between the wooden beads and the acrylic round.
Trim the ends of the ribbon and hang on the tree.
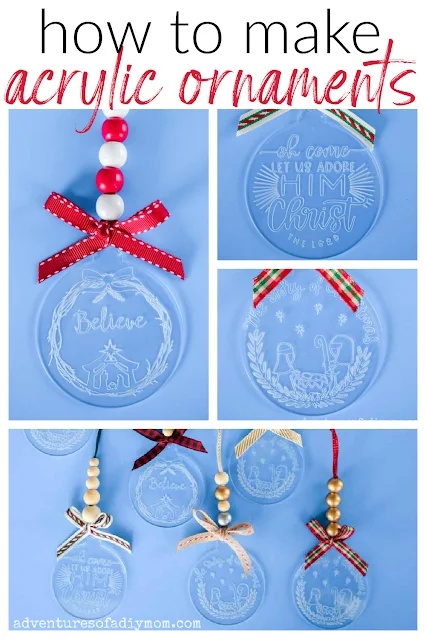
These are so fun to get creative with different colors.
Gold and red are classic Christmas colors.
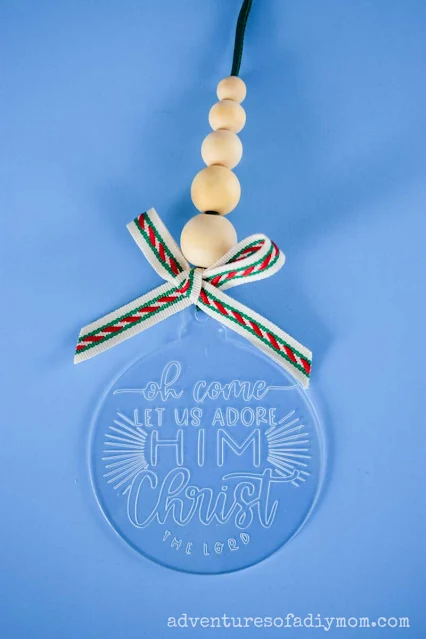
I love this one with the different sized wood beads and the red, green and white ribbon.
This one has a neutral look. This Believe design was the favorite at our young women's activity.
Play around with different sized wood beads.
I love the red and white combo on this one.
MORE CHRISTMAS ORNAMENTS
- Wire Angel Ornament
- Wood Burned Ornaments
- Wooden Slice Nativity Ornaments
- Clothespin Nativity Ornament
- Stable Ornament
- Manger Ornament
- Salt Dough Gingerbread Ornaments
MORE CHRISTMAS CRAFTS
- DIY Snowflake Crystals
- DIY Poinsettia Wreath
- Wooden Triangle Christmas Trees
- Wooden Christmas Tree Shadowbox
- Christmas String Art
- 45+ Felt Christmas Ornaments
Don't forget to pin it!!








0 comments