This is a FREE shortcut quilt pattern from Fat Quarter Shop. It's made with 10 inch layer cake squares so it was so quick to sew together.
I sewed together all of the quilt blocks in one afternoon and evening. It took me another day to lay out the blocks the way that I liked them and sew them all together.
This project is in collaboration with Fat Quarter Shop. They were kind enough to provide the fabric for the quilt.
SPOOLS QUILT
This post may contain affiliate links. As an Amazon Associate I earn from qualifying purchases. Please see my full disclosure policy for details.
SUPPLIES NEEDED FOR A SPOOL QUILT
Here are the supplies you will need to make a spools layer cake quilt in the lap quilt size. Please refer to the pattern for the details and for fabric needs if a larger quilt is desired.Fabric Needed
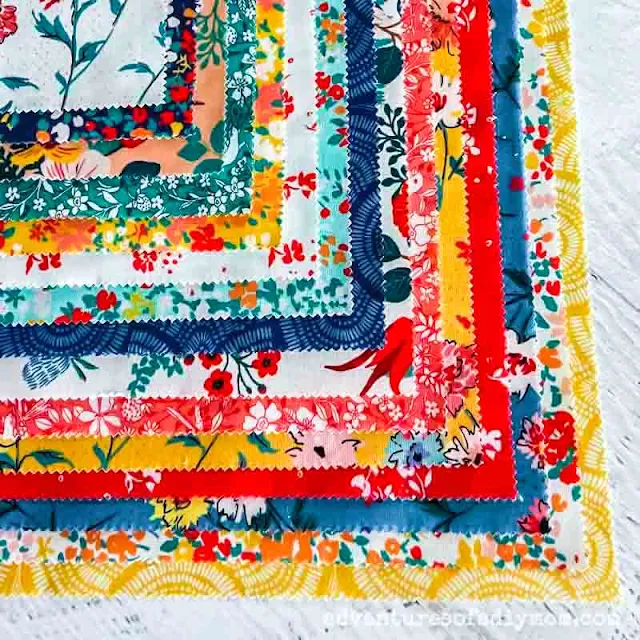
- One Print Layer Cake (I used Lady Bird by Crystal Manning for Moda)
- One Solid Layer Cake (I used Bella Solid White)
- 5/8 yards coordinating fabric for binding
- 4 yards fabric for backing (I will use Lady Bird Melon Cascade for both binding and backing)
Other Tools and Supplies Needed
- Layer Cake Spools Shortcut Quilt Pattern - Free Download
- coordinating thread
- rotating cutting mat
- rotary cutter
- Creative Grids 8.5" Square Ruler (This is a must for the blocks to turn out perfectly!)
- sewing machine (This is my new machine that I absolutely love!)
- scissors
- pencil
TIPS FOR MAKING THE SHORTCUT SPOOL QUILT
Here are a few things that will be super helpful as you create your own spool quilt.TIP #1- CHOOSE YOUR FABRIC CAREFULLY
When choosing fabric for this quilt, be sure to look for a layer cake with lots of color and minimal white or light prints. You want prints that will contrast with the solid white background fabric.I spent a lot of time choosing a fabric that fit my criteria. Lady Bird by Moda is what I ended up selecting. Since you only use 32 squares for a lap quilt you do have a little wiggle room. I didn't use some of the prints that had a white background.
TIP #2 - WATCH THE VIDEO TO LEARN HOW TO MAKE THE BLOCKS.
Watch Kimberly's video on how to put together the blocks. The written instructions are great, but being able to watch someone as they make the block is so helpful.TIP #3 - GET A 8.5 INCH SQUARE RULER
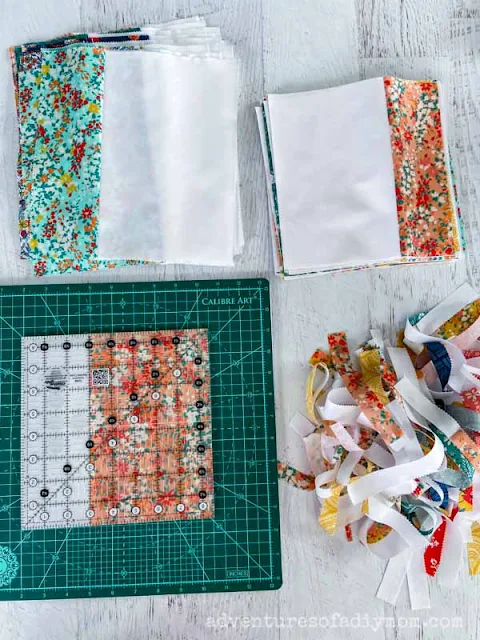
A 8 1/2 inch square ruler from Creative Grids is vital for this project. As you are creating the blocks you will need to trim them to size, lining up the seam in a specific way. Using the 8.5" ruler makes it simple to do without a lot of brain teasing math.TIP #4 - A ROTATING MAT IS SO HELPFUL
A rotating mat makes trimming up the squares so easy AND much more accurate. It's one of those things I got on a whim awhile ago and hadn't used yet. If you don't have one, you can totally make do with a regular mat.If you love to quilt and have the funds, I would totally recommend investing in a rotating mat. It is so worth it!
TIP #5 - LAY OUT YOUR BLOCKS BEFORE SEWING
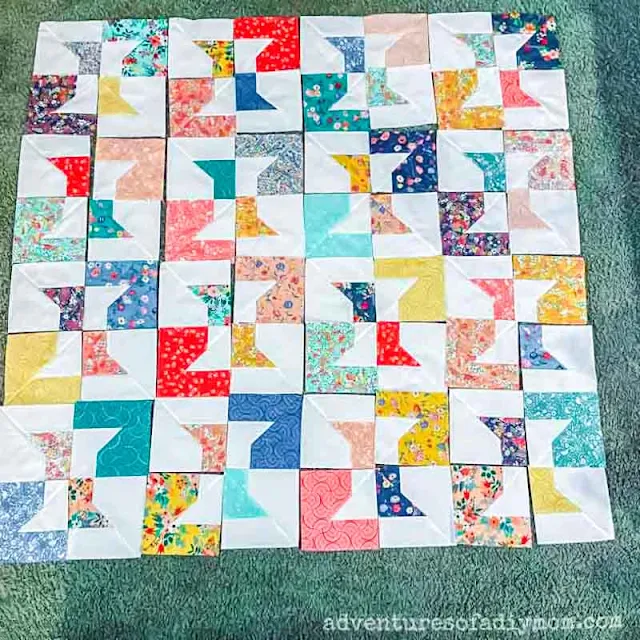
It's tempting to just start sewing all the blocks together to finish up the quilt. In order to get the best layout, it is important to view the whole quilt to see how it will look. Some people have quilt boards that they can pin the pieces to. I simply lay mine out on the floor.I am still working on this skill, but I try to make sure that I don't have any patterns or colors too concentrated in one area of the quilt.
After a while it may seem like each piece you move creates a new problem. Sometimes it's good to walk away for a few hours and come back. Other times, it's important to realize that it will never be perfect, and that others will most likely not even notice.
Once I've arranged the blocks to my liking, I like to stack them up and label them clearly so I remember how to sew them together. For this quilt, I stacked the four blocks that create the spool together and then gathered up each row.
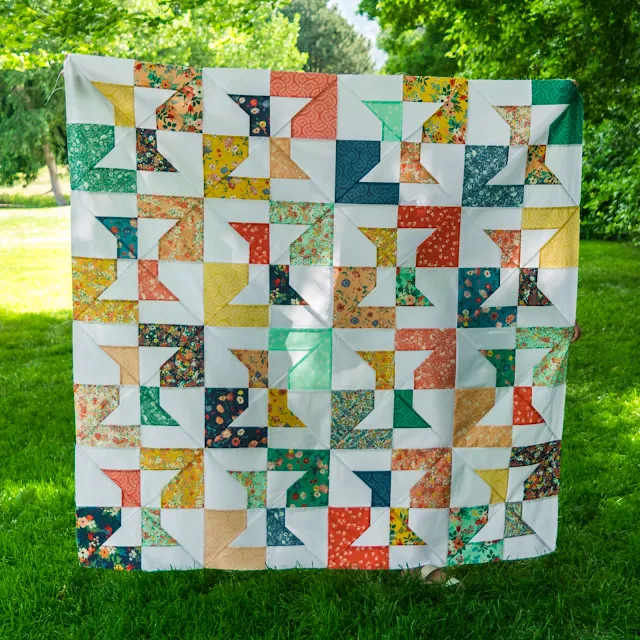
You can see that I haven't finished the quilt yet. I am taking it to a quilter this week to have it quilted. Then I will bind it and share the finished quilt.
Be sure to grab the free layer cake spools shortcut quilt pattern. I'd love to see your quilts! Send a pic via email (contactdiymom@gmail.com) and I'll share your version at the end of the post. Be sure to include your name (first only) and the fabric line you used.
Find more free quilt patterns at Fat Quarter Shop.




0 comments