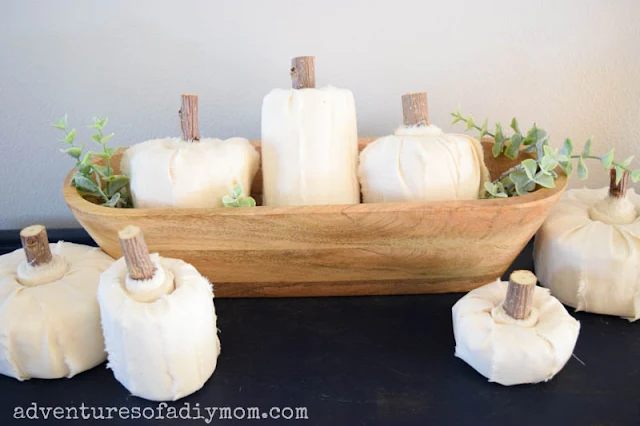
What's so great about them? They're easy, they're no-sew, they're inexpensive, they're darling, they're the perfect fall craft.
This project was inspired by my sister. Every fall when I go to her house, she has her toilet paper pumpkins out on display. I've always loved how they were wrapped differently than the typical TP pumpkin. So I set out to make myself some this year.
Toilet Paper Pumpkins
For more pumpkin and fall projects, visit my DIY fall crafts page. This little one is my favorite!This post may contain affiliate links. Please see my full disclosure policy for details.
Supplies Needed for DIY Toilet Paper Pumpkins with Fabric
- Toilet paper rolls
- strips of fabric - 1 1/2 to 2 inches wide (I used muslin)
- sticks - 3 to 4 inches long
- sharp knife
- scissors
Preparation of Supplies
- Cut toilet paper rolls in half and/or remove half of the roll to create various sizes of pumpkins.
- Rip the fabric into 1 1/2 - 2 inch strips. Begin by snipping the edge of the fabric at the desired width. Rip the fabric to create the rustic, frayed look.
- Gather sticks and cut them into 3-4 inch pieces. (I used a scroll saw, but you could break them if you don't have a saw)
How to Make Cheap and Easy Toilet Paper Pumpkins
Let's get started on these pumpkins. They're so easy! You can follow along with the pictures and text below. Or you can watch the video.Either way, you'll soon be on your way to making some darling pumpkins to dress up your home for fall.
Let's begin with the toilet paper.
There are lots of tutorials out there on how to make pumpkins with toilet paper and material. They're all pretty much the same, grab a fat quarter and wrap it around the pumpkin. They're cute, but I wanted something a bit different.
I wanted my pumpkins to be a bit smaller AND variable in size. To accomplish this, I cut the toilet paper roll in half to make different sizes. I also unrolled about half of the toilet paper so it was smaller around for many of the pumpkins.
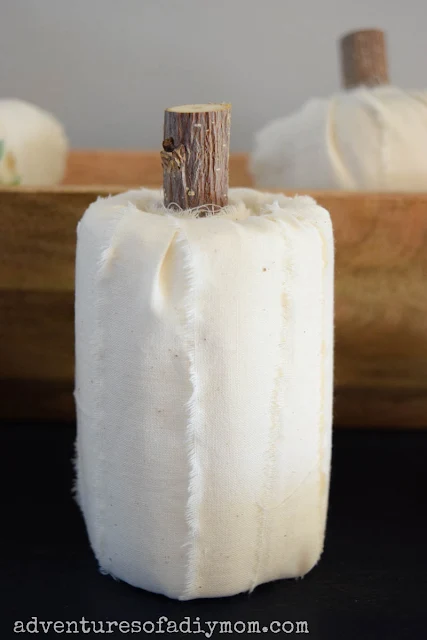
The pumpkin shown below, I cut in half, but did not unroll any. The picture above, I didn't cut, but I did unroll half of it.
Wrap the strips around the pumpkin and through the hole in the center of the TP roll. Continue wrapping overlapping the previous layer so that no toilet paper shows through.
Continue until the pumpkin is completely covered with the fabric. Once you have wrapped it completely, tuck in any remaining fabric into the center. (If there's a lot of material left, you can continue wrapping until there's just a small bit left)
Next, grab another strip of fabric and wrap it around one end of a stick. The reason I did this is because the hole in the center of the pumpkin is too big around for the stick to sit in without flopping around. Once it's been wrapped, it sits perfectly inside the center.
That's it. Easy, right?
More Pumpkin Crafts
- Reversible Bead Board Pumpkins
- Yarn Embellished Pumpkins
- Cardboard Pumpkin Sign
- Pumpkin Spiderweb Craft
- Wooden Pumpkin Craft
- Barn Wood Pumpkins
- 75+ Fall Crafts
Don't forget to pin it!!


These pumpkins are so pretty and easy!!!
ReplyDeleteHappy Holiday Season,
Kippi
Ps. Please share on my site at You're the Star blog hop
Such a fun idea! Love it!
ReplyDeleteThank you for linking up w Creative Muster! Blessings to you! xoxo Sharon
What a super cute project. I will be sharing this tonight at my Fall into Fall party that opens at 8pm EST. Please stop by and pick up an I've Been Featured button. Thanks. http://diybydesign.blogspot.com
ReplyDeleteThese are so cute and easy to make! Gotta save that idea for later. Thanks for sharing!
ReplyDeleteLove these toilet paper pumpkins! Pinning. Thanks for sharing at Everything Fall 2020. Best wishes Linda @ crafts a La mode
ReplyDeleteThank you for joining us at the Everything Fall 2020 party. I am featuring your post today in my post 15 of the Best Fall Decorating Ideas to Turn Your Home Into an Autumn Escape at Shoestring Elegance.
ReplyDelete