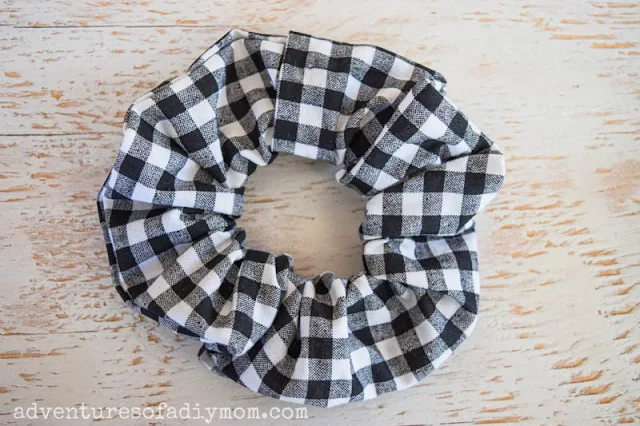
These DIY scrunchies are no-sew. That's right! There's absolutely no sewing involved with these easy scrunchies.
Most scrunchie tutorials require sewing. But how do you make one without a sewing machine?
Maybe you don't know how to sew. Maybe you don't have a machine or it is broken. Or maybe you just want to try another method.
This scrunchie tutorial is for you!
How to Make Scrunchies without Sewing
If you want to make a traditional sewed scrunchie, or a bow scrunchie, I've got you covered.
My tween girls have been obsessed with making scrunchies. My 10 year old has even sold them at her school carnival and they are the first thing to go.
If sewing is something you've considered before, I encourage you to start out with a scrunchie. They're so easy!
But today we're taking the sewing machine out of the picture. So grab your favorite fabric (or even an old t-shirt) and let's get started.
This post may contain affiliate links. Please see my full disclosure policy for details.
Supplies Needed DIY No-Sew Scrunchies
- Fabric - 4 1/2 inches X 22 inches (fat quarters
work great)
- Scissors
- Hot glue gun & glue sticks
- 1/4 inch elastic
How much fabric do I need for a scrunchie?
My general rule of thumb is a piece of fabric that is 4 1/2 inches by 22 inches.So what if you're at the fabric store and don't know how much to get?
Aim for 1/8 yard. You will be able to get two scrunchies from 1/8 of a yard.
Another easy option is to pick up a fat quarter, which will yield 4 scrunchies.
How to DIY a No-Sew Scrunchie
So how do you make a hot glue gun scrunchie? I'll walk you through each step.Or scroll to the end to see the quick how-to video.
Begin with a piece of fabric that is 4 1/2 inches by 22 inches.
On the short end of the fabric, add a line of glue along the edge.
Quickly, before the glue hardens, fold over the edge of the fabric on top of the glue. Repeat with other end.
Next, fold the fabric in half lengthwise, with the pattern on the inside.
Working in sections, place a bead of glue along the outer edge of one side of the fabric. Place the other side on top.
Continue all the way down the edge to create a tube.
Turn the tube right side out.
Cut a 10 inch piece of elastic. Insert it into the tube and tie the ends in a square knot. (Safety pins work great to weave the elastic through the fabric.)
To finish the scrunchie, insert one end inside the other. Add a few dabs of hot glue on both sides to secure.
That's it! Pretty easy right?! If you like this share it with your scrunchie making friends. Make them extra cute with an easy no-sew bow.
Need a place to store all your scrunchies? Try this EASY DIY scrunchie holder.


Thank you for sharing! I sure did love my scrunchies back in the day!
ReplyDeleteCool project, who would have thought they would make a comeback. My daughter loves them.
ReplyDeleteHello! I had a question. Will the hot glue be enough for the fabric to stick and hold together "permanently"? In other words, my hair is pretty thick and very curly. Would it be enough for my to take it in and out and pull it up and down throughout the day without coming apart?
ReplyDeleteMy girls have worn theirs several times and have not had a problem with them coming apart. They generally use a hair elastic and then add the scrunchie on top, so that is not as hard on the scrunchie. If you are looking for a more permanent type glue, I have heard good things about Aleene's fabric fusion. It will take a lot longer to dry so that's something to keep in mind.
Deletedon't have hot glue???
ReplyDeleteYou could try a fabric glue or you could sew it. See this tutorial for how to sew one: https://www.adventuresofadiymom.com/2019/07/how-to-make-diy-scrunchie.html
Deletewow i love it
ReplyDeletewhere do you find the video 😁
ReplyDeleteWell... now you can find it at the bottom of the post - it's in big bold type ... I had somehow forgotten to include the link - ooops!
Delete