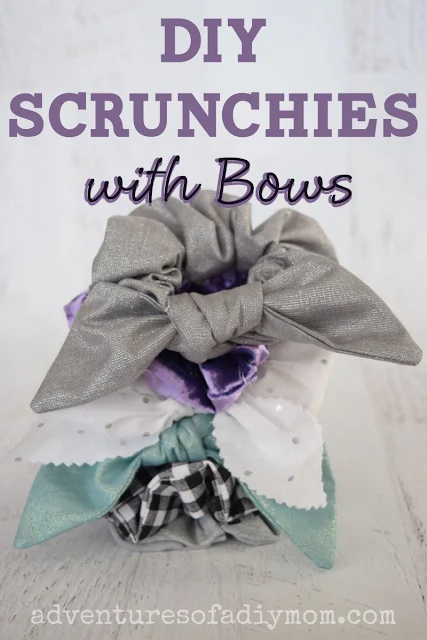
Scrunchies are so easy to make. They're cute and fun to wear. What makes them even cuter? A bow, of course. Make your own scrunchie bows today!
So my girls are still obsessed with scrunchies. I taught them how to make them over the summer and every couple of weeks they take over the sewing machine and make some more.
As much as they love to wear them, I think it's even more about the process of making them. Starting with a flat piece of fabric (or even an old t-shirt), and turning it into something fun and useful.
The process of creating is so fulfilling. I'm glad to be able to pass my love for creating on to them.
How to Make a Scrunchie Bow
We made two different types of bows for the scrunchies. This tutorial is how to make sewed bows. The other type of scrunchie bow is even easier. We also made a DIY scrunchie stand to hold all the scrunchies.
This post may contain affiliate links. Please see my full disclosure policy for details.
Supplies Needed Scrunchies with Bows
1/4 yard of fabric1/4 inch wide elastic
Printable bow template
sewing machine
thread
scissors and/or rotary cutter/cutting mat
How to Make a Scrunchie with a Bow
Let's get started. I'll walk you through the process with pictures. OR you can watch the scrunchies with bows video.Cut out the fabric. For each scrunchie you will need a piece of fabric that is 4 1/2 inches by 22 inches. You will also need two pieces of fabric for the bow.
Print the template and use it to cut out the bow pieces.
The straight end of the bow pattern needs to be placed on the fold of the fabric. Cut two bow pieces.
How to Sew the Scrunchie
First let's sew the scrunchie, then I'll show you how to sew the bow.
Starting with the 4 1/2 inch by 22 inch piece of fabric, fold one end of the fabric about 1/4 inch. Sew in place.
Fold the fabric in half lengthwise with the right sides together. Sew along the edge to create a tube. Then turn the tube right side out.
Insert a 7 inch piece of elastic. I like to pin one end of the elastic to one end of the scrunchie tube. Then I add a safety pin to the other end of elastic to slide the elastic through the tube more easily.
Using a zig-zag stitch, sew together the ends of the elastic.
To finish the scrunchie, insert the unfinished end of the tube, inside the finished edge of the tube. Sew a straight stitch along existing stitch.
How to Sew the Bow for the Scrunchie
Now, the best part. The bow!
Place the two pieces of fabric for the bow one on top of the other. Sew around the edges with 1/4 inch seam allowance. Leave a 2 inch gap for turning.
Turn the fabric right side out. Press flat and sew opening closed.
Now it's time to add the bow. Basically, you just tie it in a knot around the scrunchie. I like to place the knot over the seam of the scrunchie to hide the seam.
Adjust the bow until it looks nice and you're done!
↓↓ Watch the video! Click the link ↓↓
It's pretty easy right? You can totally do this!!
Have you made scrunchies? I'd love to see them! Tag me @adventuresofadiymom on Instagram or Facebook.
What kind of fabric is best for scrunchies?
For beginners, the easiest fabric to use for scrunchies would be a woven cotton fabric. Cotton is easiest fabric to learn to sew with and they make great scrunchies.Stretchy knit fabrics work great and they stretch along with the elastic. However knits can be frustrating to sew with for beginners.
Silky, sheer and velvet fabrics, although very pretty, are the most difficult to sew because the fabric is slippery and sometimes moves around as you're sewing.
Ultimately, most material will work for a scrunchie, it's just a matter of preference.
More DIY Hair Accessories
- Beaded hair clips
- Hair clips with gems
- Pearl and crystal headband
- Wire and bead wrapped headband
- No-Sew Scrunchies
More EASY Sewing Crafts for Beginners
Don't forget to pin it!!


These are so cute Rachel and I love that they are simple enough for the kids to make themselves.
ReplyDeleteThank you for sharing your tutorial for making scrunchies with bows at Create, Bake, Grow & Gather this week. I'm delighted to be featuring this post at tomorrow night's party and pinning too.
Hugs,
Kerryanne