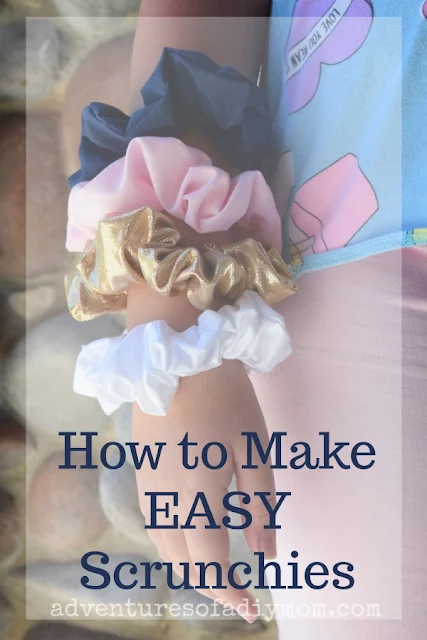
This summer has been filled with sewing scrunchies. I taught my two younger daughters (ages 9 and 11) how to make scrunchies. They have really taken to it, and will NOT stop making them.
Every few days, they ask if they can make some more. By now, I think they have made a scrunchie with every scrap of fabric I have that is long enough.
The thing is, I really don't mind. The cost is minimal and it gives them something to do besides staring at a screen.
How to Make a Scrunchie
This project is part of the Little Gifts Sew Along. A bunch of amazing bloggers have have created gifts made from 1-4 fat quarters.
So get started on your handmade Christmas gifts early this year with these great ideas. Head over to Underground Crafter to see what the others have made. Check back every other week for more ideas.
Both my girls have made some as gifts for friends. If you have teens or tweens, you know how cool scrunchies have become again.
And they're not only for hair. A lot of the time they are worn as a bracelet.
Update: We tried adding bows to them and they turned out so stinkin' cute! Find out how we made the bow scrunchies and super easy bow scrunchies.
What if you don't know how to sew? No problem, this project is perfect for beginners. But if you want, you can try our no-sew scrunchies.
Don't have a stash of fabric? No problem, make them using old t-shirts.
Need a way to store all your scrunchies? Try this DIY scrunchie holder. It's an EASY project.
See this picture below? I told you they've been raiding my fabric stash!
Supplies Needed for DIY Scrunchies
- Fabric - 4 1/2 X 22 - 26 inches (Fat Quarters
work great, but 24-26 inches will give the best 'scrunchiness')
- 7 inches of1/4 inch elastic
- safety pins
- thread
- Sewing machine
- scissors
Steps to Sew a Scrunchie
OK, let's get to it! If you learn better by watching, scroll to the very end and watch the how-to video.
Fold over one of the short edges about 1/4 inch. Sew down the center.
Fold the fabric in half lengthwise with right sides together. With a 1/4 inch seam allowance, sew along edge to create a tube.Fold over one of the short edges about 1/4 inch. Sew down the center.
Turn the tube right side out.
Add a safety pin to one end of the elastic. Thread the elastic through the tube using the pin to guide it through.
Tip: I like to place another pin on the other end of the elastic and secure it to one end of the tube. That way, when you pull the elastic through, you don't accidentally pull it all the way through.
Remove the pins, you should have elastic coming out of both ends of the scrunchie. Be careful to not lose hold of the ends.
Hold the elastic so they overlap each other, and sew with a zig-zag stitch back and forth several times.
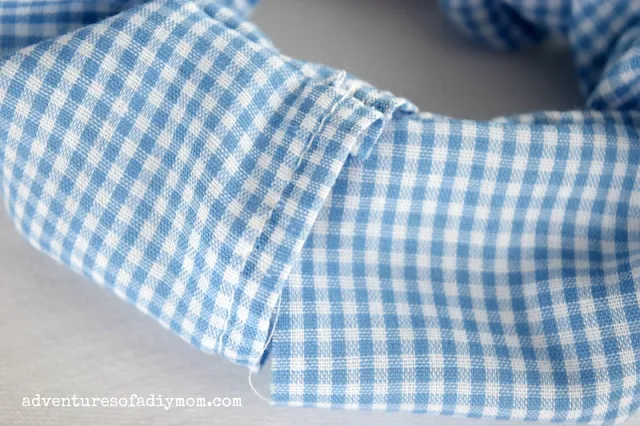
Insert the unfinished edge of the scrunchie inside the finished edge.
Sew a straight stitch along the existing seam, catching both ends of the tube in the seam.
Now go make a few more, or if you're like my girls, 27 more.
More DIY Hair Accessories
More EASY Sewing Crafts
DIY Scrunchie Video
See my video on YouTube: → DIY Scrunchie Video ←


0 comments