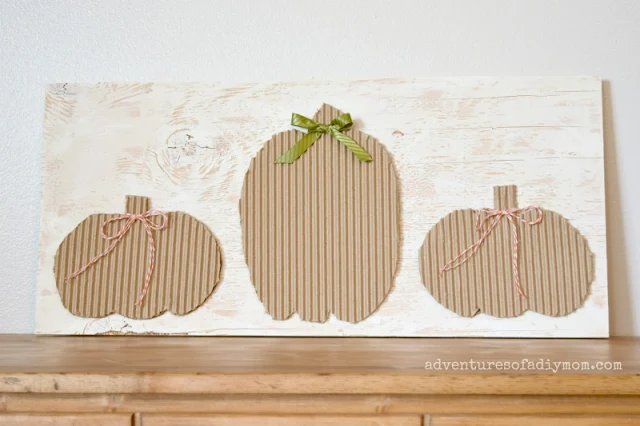
This entire project was made with items I had on hand. This sign came about because I wanted to create, but I didn't want to spend money. Do you ever feel like all you do is spend money? It seems there have been a LOT of expenses lately. Plus my oldest got her driver's license a few months ago and we're still getting used to the higher insurance bill.
So, I determined to make something with what I already had. I scavenged the garage for scrap wood, the craft room for ribbon and paint and the recycling bin for some cardboard. The resulting wood sign turned out even better than I envisioned. And it just goes to show, you don't need a lot of $$ to craft - just a little imagination.
Wooden Sign with Cardboard Pumpkins
But you're here to make a card board pumpkin sign - so let's get started!
Supplies Needed to Make a Cardboard Pumpkin Wooden Sign
a piece of wood {mine was 24" X 11" - but use what you have and adjust your pumpkins to fit}white paint
foam brush
cardboard
paper, pencil, scissors, serrated knife
ribbon or twine
glue or tape
How to Paint a Wooden Sign
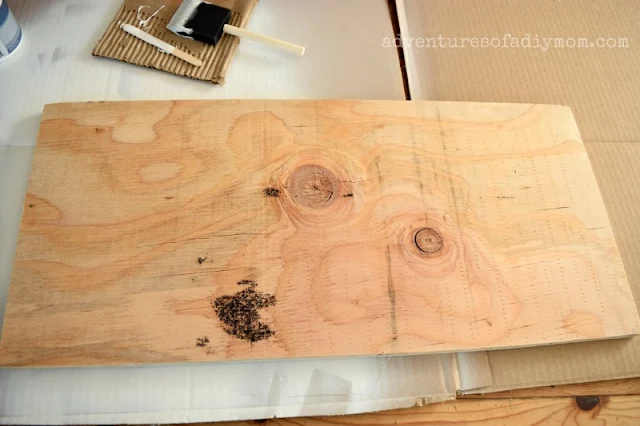
Watch the video from my Instagram stories at the end of the article.I began with a board that I found in the garage. It was a piece of plywood left over from the bed we made for the craft room this summer. I sanded off the rough edges and splinters.
I painted it with white paint. The paint was a sample jar that I had gotten quite a while ago. My girls had used all the white craft paint on their projects, so I was glad to find this stuffed in the back of the cabinet.
I used a dry brush technique to paint the wood. I wanted some of the wood to show through and highlight the texture.
Basically, I dipped the brush into the paint, then wiped off as much as I could on the rim of the jar, so the paint would fall back in. With just a little bit of paint on the brush, I painted over the wood. Doing this painted the raised portions of the wood, but left the valleys unpainted.
How to Make a Pumpkin out of Cardboard
While the paint was drying, I drew and cut out pumpkin shapes. You can print them out here.
Trace the pumpkins onto a piece of thick cardboard. Cut them out. I found that the best way to cut them was with a serrated knife.
Next remove the outer layer of the cardboard on one side to reveal the corrugated insides.
The thicker the cardboard is, the bigger the ridges are inside.
Some of it came off easily, other spots were a little more attached and required a little work to remove the layer.
Add a little twine or ribbon and attach the pumpkin to your wooden board. I used painters tape, because I want to reuse the board for other seasons. You could hot glue it if you want a more permanent sign.
↓↓ To watch the video, click the link ↓↓
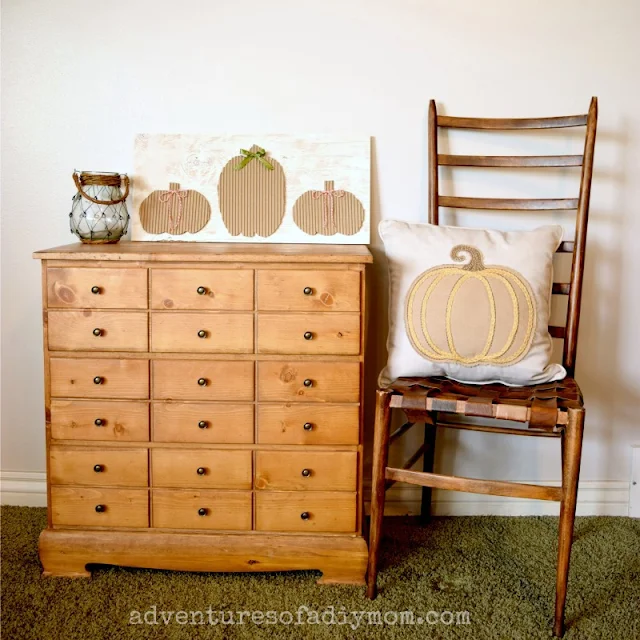
And here it is all complete sitting on my "card catalog" dresser.
Don't forget to PIN IT!
More Pumpkin Crafts
Check out this page to see all my fall crafts and DIY projects. OR my favorite fall crafts from other creative bloggers.


These are tooooo stinkin' cute! I love them...even though I have horrible DIY skills, I may give them a try! Thank you for the idea!
ReplyDeleteVery cute and so simple too. Love them
ReplyDeleteThese are brilliant!!! Now I have to make them. :) My list keeps growing but like you said it's free and easy. I'm sure I have an old board also. WOW. Brilliant. Pinned. Best wishes for the weekend. Linda @crafts a la mode
ReplyDeleteThursday Favorite Things
I love it! I saw it on the other post and thought it was a great fall decor idea, Thank you for sharing at The Really Crafty Link Party. Pinned.
ReplyDeleteLove this. So cute and love that it is no cost. That is the best!
ReplyDeleteI'm a huge lover of everything that is paper and cardboard so this was an instant magnet for me. Love how you put them on a wood backing. And I always love that texture.
ReplyDelete