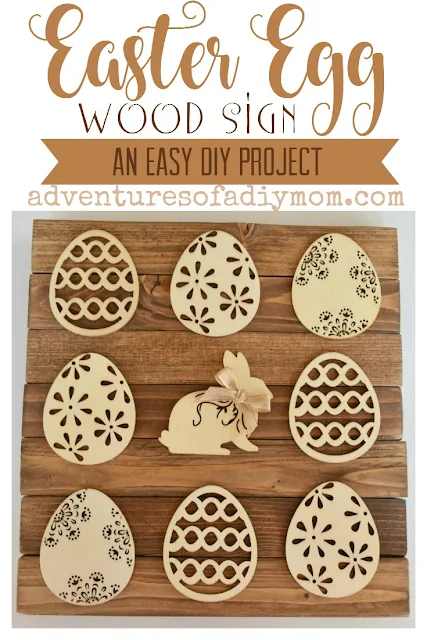
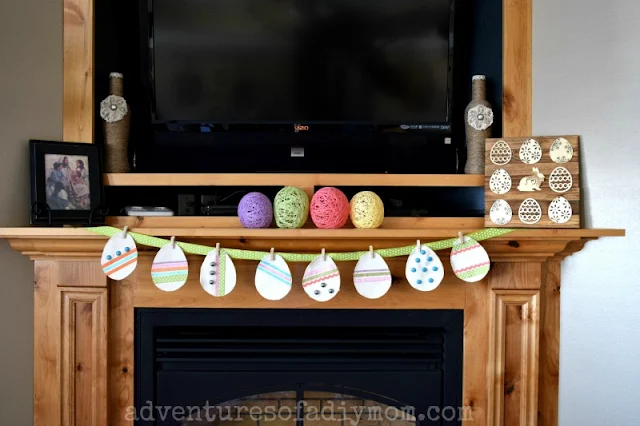
I found these fun wood Easter eggs on clearance. I love the different patterns. It didn't take me long to figure out what I wanted to do with them. I wanted something to finish off my Easter mantle. The mantle is pretty simple - a few string eggs, my #PrinceOfPeace Easter Egg Banner, and a picture of Jesus with the children. Now the wood sign finishes off the other side of the mantle.
Want to Make your own Easter Egg Wood Sign?
You will need:1 X 2 -7 pieces 10" long
stain
paint sticks
short brads
wooden eggs, bunnies etc.
ribbon
hot glue
1- Begin by cutting your 1 X 2's into pieces 10 inches long. I used up a lot of scraps and cut out a total of 7 pieces. You could 1 X 3's or 1 X 4's - you just won't need as many of them.
2 - Sand the wood. My daughter wanted to help. She didn't like the feel of the vibration of the sander and gave up quickly.
3 - Stain the wood. I used Special Walnut by Minwax. Let dry completely.
4 - To attach the wood together, I simply lined them all up, placed a couple pieces of paint sticks on the back and nailed them in place with short brad nails. I wish I would have added a bit of wood glue first, but I didn't think of it until after the fact. If you don't have a nail gun you could use some wood glue and place something heavy on top until it dries completely.
5 - Hot glue the wooden eggs/bunnies on.
6 - The last think I did was to add a little bow to the bunny.
That's it! Pretty easy. Are you ready for Easter?


Those wooden eggs were a find, they are beautiful. Thanks for linking up with Creatively Crafty Easter Party.
ReplyDelete