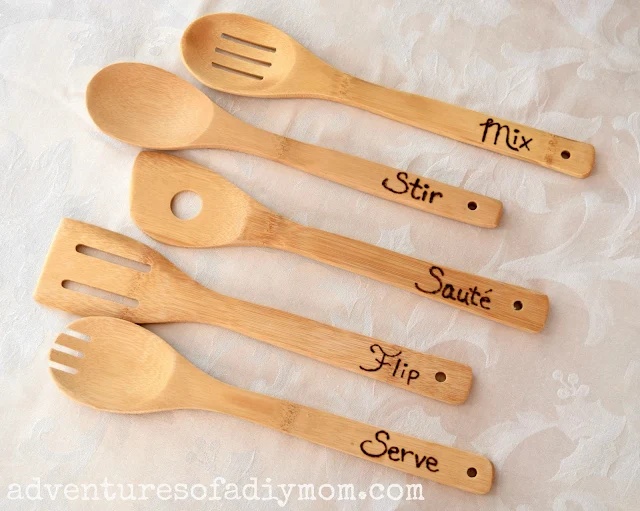
I enjoy making handmade gifts for others. For Christmas, I made these wood burned spoons for my sister. They would be a great housewarming gift or Mother's Day gift. They would be perfect for the chef in your family.
I've long been fascinated with the idea of wood burning. I've come across so many amazing projects, that I knew I wanted to try it. At the same time I felt intimidated. What if I mess up? What if it's too hard?
This post may contain affiliate links. Please see my full disclosure policy for details.
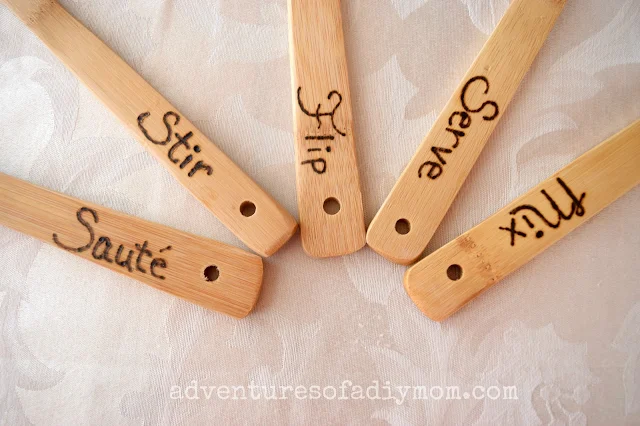
I decided to start small with wooden spoons. Even though I've seen some pretty cool spoons that are burned on the curved part of the spoon, I opted to burn on the flat end. I just knew those curves would mess me up.
That turned out to be a wise choice. Because wood burning, as it turns out, is not quite as easy as writing with a pen. I'll let you in on a few tips that I learned as I tried out my first wood burning project.
This is the wood burning tool that I use.
Tip #2 - Start small. Decide on a project that is not too detailed, large or expensive.
Tip # 3 - Write out your word {or design} with a pencil on the wood. If you mess up, just erase and try again. When you are ready to burn it, you are just tracing your pencil marks and that equals less of a chance to botch it up.
Tip # 4 - Go SLOW. It takes longer than I expected to burn each letter. If you go too fast, then the tool will not have a chance to burn the wood. This is a hard one for me, since I assumed that it would be just the same as writing with a pen. It's not! Go slowly.
Tip # 5 - For a darker look, you can burn over your design again and again until you achieve the look you desire.
Tip # 6 - Practice makes progress. Wood burning is an art that I now have a much better appreciation for. It is not quite as easy as I thought, but as I continue to try new projects, I will progress and become better. I'm sure I will never spend the time to get to the "perfect" stage, but progress is enough for me.
I'd love to start another wood burning project soon. Any ideas? What would you burn?
Wood Burning Tips
Tip # 1 - Figure out how the tool works on a piece of scrap wood. How much pressure do you need to apply? What tip will work best for your project? How quickly or slowly do you need to move along the wood?Tip #2 - Start small. Decide on a project that is not too detailed, large or expensive.
Tip # 3 - Write out your word {or design} with a pencil on the wood. If you mess up, just erase and try again. When you are ready to burn it, you are just tracing your pencil marks and that equals less of a chance to botch it up.
Tip # 4 - Go SLOW. It takes longer than I expected to burn each letter. If you go too fast, then the tool will not have a chance to burn the wood. This is a hard one for me, since I assumed that it would be just the same as writing with a pen. It's not! Go slowly.
Tip # 5 - For a darker look, you can burn over your design again and again until you achieve the look you desire.
Tip # 6 - Practice makes progress. Wood burning is an art that I now have a much better appreciation for. It is not quite as easy as I thought, but as I continue to try new projects, I will progress and become better. I'm sure I will never spend the time to get to the "perfect" stage, but progress is enough for me.
I'd love to start another wood burning project soon. Any ideas? What would you burn?


0 comments