Do your girls like dolls? My oldest never really got into them, but my little two LOVE them. They got "American" girl dolls {No, we didn't pay the big bucks for the real thing} for Christmas and it has re-sparked their interest in all of their old baby dolls too. They will spend hours playing with each other and their dolls.
Of course, I had to make them some quilts for their dolls.These adorable little doll quilts perfectly fit the Farmhouse Doll Bed's my son made my girls for Christmas. I made the doll quilts to match with the girls bedspreads.
I ended up having just enough scraps to make it work. Here's the other one:
Want to make your own Doll Quilts?
You will need scraps of four different coordinating colors:5 pieces 2" X 16 1/2"
3 pieces 2 1/2" X 16 1/2"
2 pieces 3 1/2" X 16 1/2"
2 pieces 4" X 19 1/2"
also for quilt:
a large piece for the back
batting
strips for binding {optional - see the binding section of the post}
Pillows:
2 pieces 10" X 7 1/2" for each large pillow
2 pieces 5" X 4" for each small pillow
polyfill
basic sewing supplies like:
thread
scissors
sewing machine
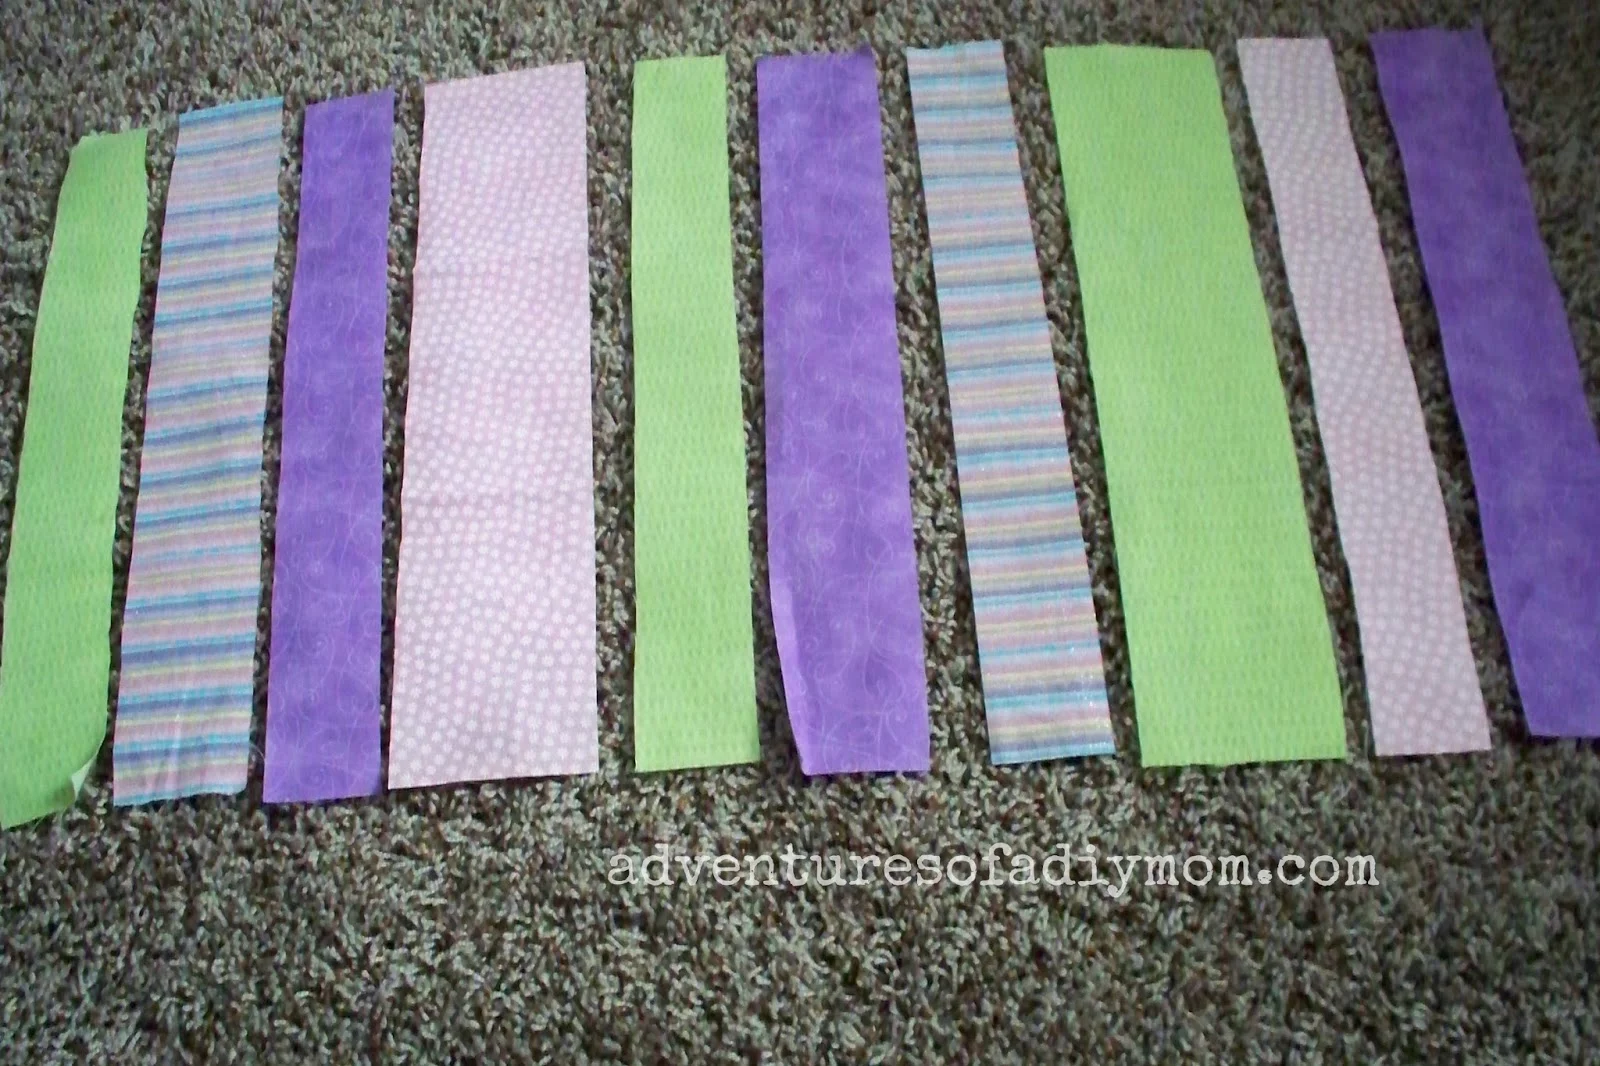
Cut out your pieces and arrange in the pattern you'd like them- I kind of went with a random pattern. {The edge pieces are not shown}
Sew the 16 1/2" pieces together using a 1/4" seam allowance. Press the seams flat.
Now sew on your 19 1/2 " pieces to the sides, using a 1/4" seam allowance. Press seams flat. It almost seems like the quilt should lay vertical like in the picture. However the beds are really wide so they end up working just right with the stripes horizontal.
Now it's time to cut out your batting, back and binding. I used the top of the quilt as a guide and cut out the batting and the back. I luckily had a piece just big enough for the back on this one. You will also need to cut some 2 1/2" strips for the binding. I already have a tutorial on quilt binding, so I'll refer you to that post when you get to the binding part.
If you have a piece that's larger than your front, then you could use the back as the binding as I shared with my How to Tie a Blanket Series. If you decide to do it that way, then you'll need to cut the back about 1 1/2 inches larger all the way around.
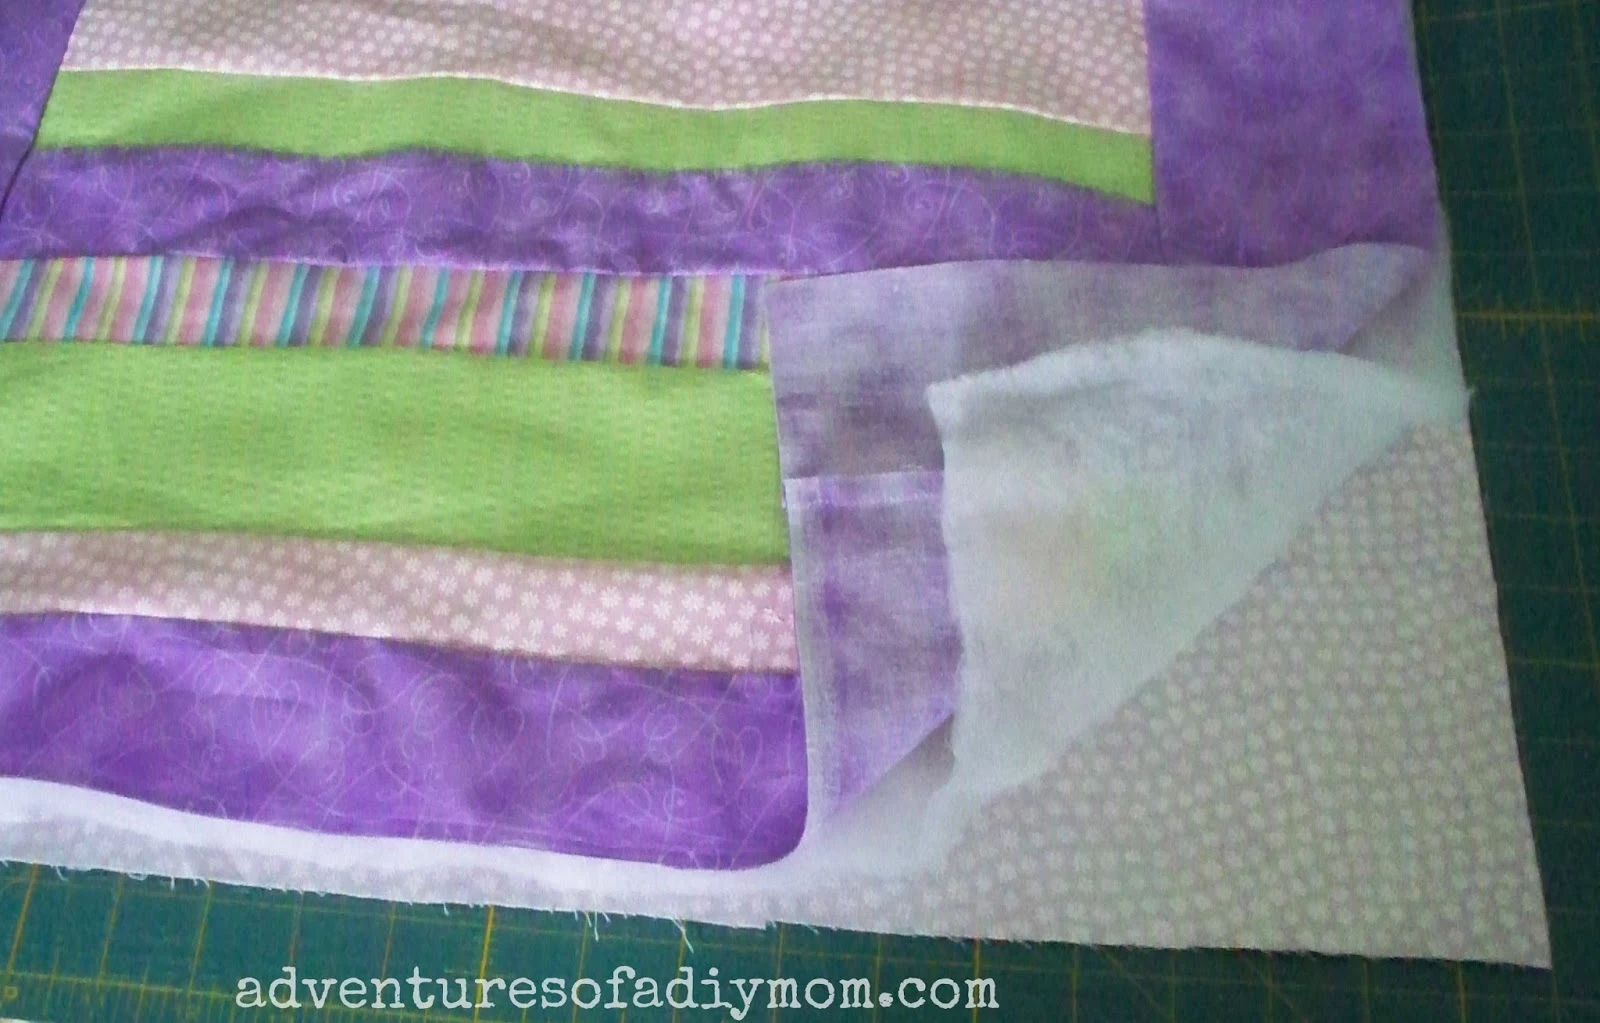
Layer your pieces with the back face down, the batting, then the front face up. Pin all over to keep the pieces from sliding around as you work. Now sew along each seam, stitching in the ditch. I did all the stripes first and then went back and did the two side seams.
Next is the binding. I really don't see the point in re-creating tutorials for binding, so here are the links to the tutorials I've done already. How to Sew a Quilt Binding - this is the one where you cut an extra piece for the binding. How to Bind a Blanket - this is the one where you cut your back out a little larger and use it for the binding.
The quilt binding is the more correct way {according to my mom, who is a quilter}, but the blanket binding is quicker. I did one each way, simply because I didn't have a big enough piece to make the back larger.
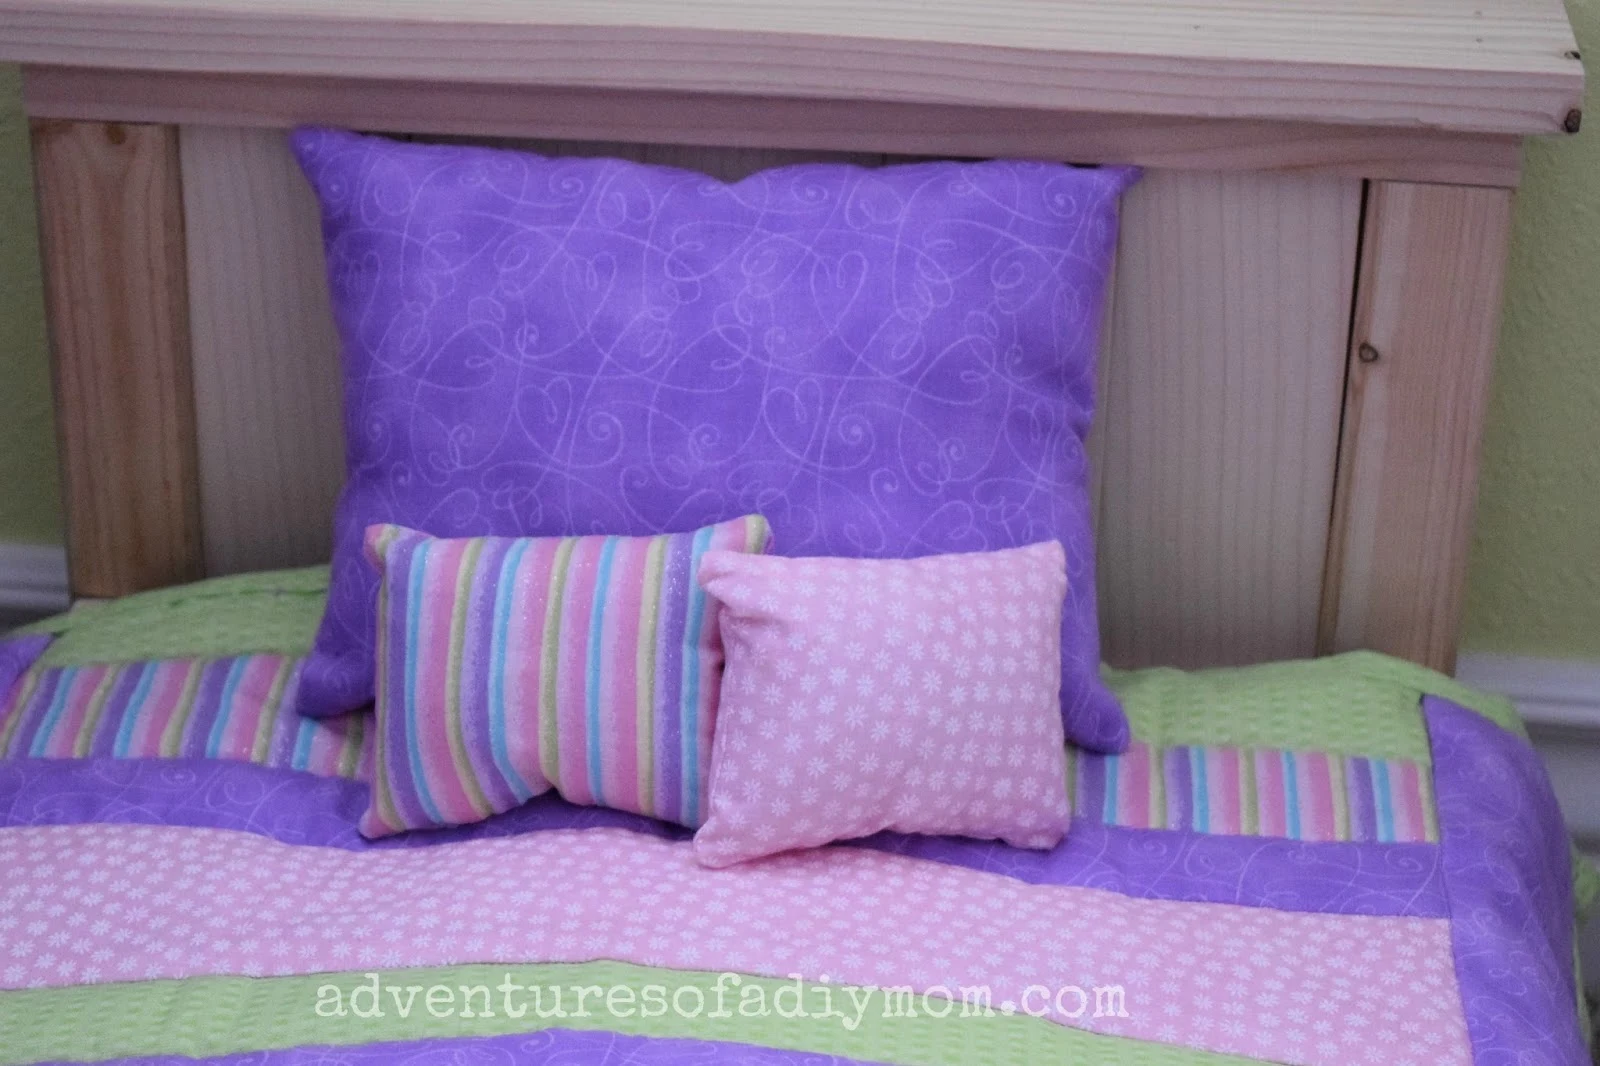
I also made some pillows. It's fairly basic and I'll walk you through it.
For the large pillow I cut two pieces 10" X 7 1/2". With right sides together, I sewed all the way around the rectangle, leaving 2-3" opening. Clip the corners, then turn right side out. Stuff with polyfill and then handstitch the opening closed.
The small pillows were 5" X 4".
Do your girls love dolls too?
You may also like:


These doll quilts are ADORABLE, Rachel! Thank you for sharing them with us at the Talk Of The Town Party.
ReplyDelete