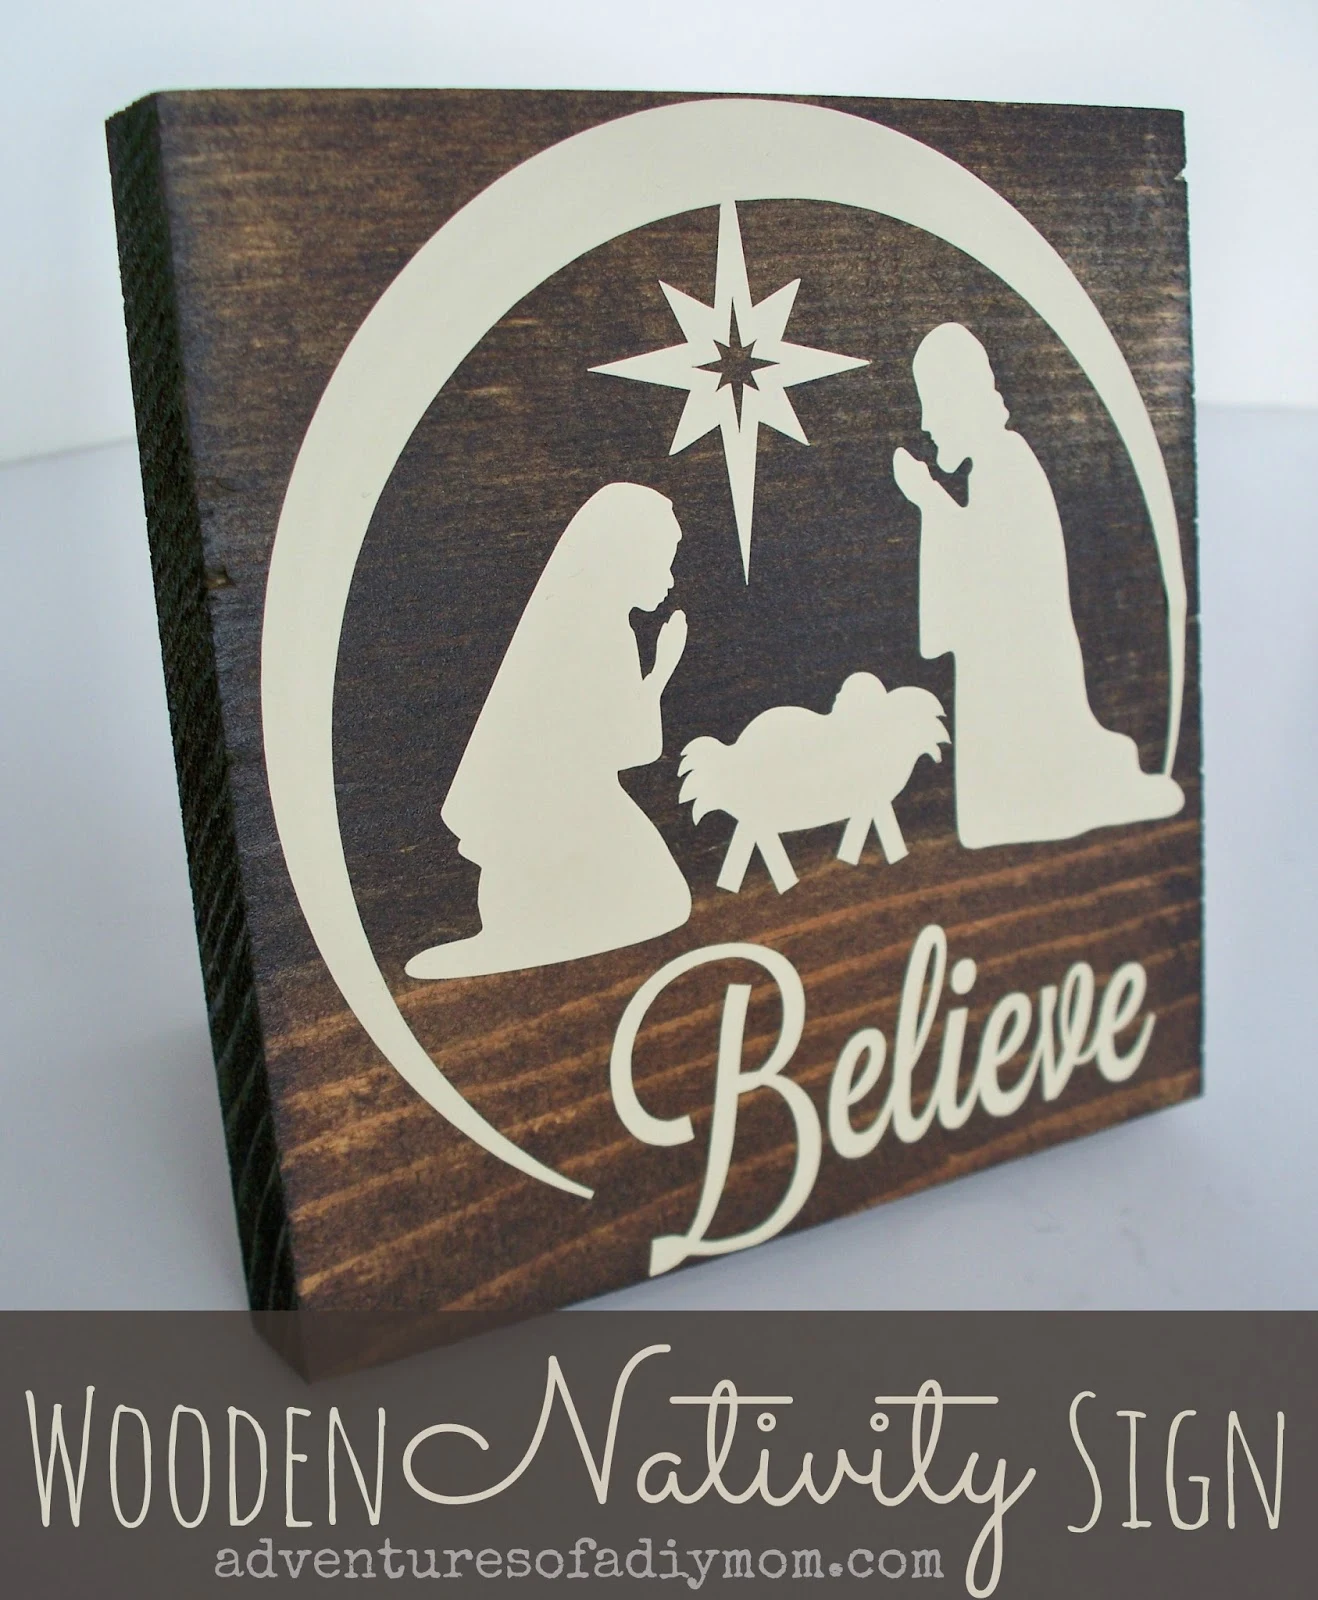
As a side note, things might get a little sporadic around here on the blog. I have so many ideas of things I want to make this holiday season - and I want to share them too. I'm just not sure how much time I'll have to sit down and blog. I'll do my best, but blogging is not my first priority in December.
Want to make your own Wooden Nativity Sign?
You will need:5 1/2" X 5 1/2" board {I cut down a 1X12 that I had, but you could easily use a 1X6}
3 1/2" X 2 1/2" board {Cut from a 1X3 board}
saw {you could use a hand saw or a power saw}
Kreg jig
2 screws
vinyl / silhouette
.jpg)
To begin, cut your pieces to size. This project is easily changed to meet your needs. I wanted a square piece. Change it up to fit your style and ideas. You could also use a 2X6. Then it would stand on it's own without the small piece. In your small piece drill two holes with the kreg jig.
.JPG)
Next, stain your wood if you'd like. I used Minwax Espresso. After letting the stain dry thoroughly, I sprayed on a couple coats of lacquer. You can use steel wool to smooth out any bumps from the lacquer. I actually made two, so that's why there's extra pieces in the picture above.
.png)
.JPG)
Now move the small board up using the line as a guide to keep it straight. Screw the screws in the pre-drilled holes.
.JPG)
.JPG)
Then simply cut your vinyl and apply it to the front of your board. I found this sweet nativity scene last year for the Silhouette. New to applying vinyl? Check out my vinyl applying tutorial.
Here it is on my mantle.
I have also made a Valentines sign
And a St. Patrick's Day sign


.jpg)

0 comments