They're easy-peasy. This simple sewing project is perfect for a beginner, but those who see the end result will think you're a pro.
I had to use up some of my flannel stash that I grabbed on Black Friday. So to go with my rice heat bags, I made each of my kids a matching pillowcase for Valentines Day.
Flannel makes these easy pillowcases soft and perfect for winter. But you can make these with a cotton fabric as well.
HOW TO MAKE A BURRITO METHOD PILLOW CASE
As I was doing a little bit of research, I was surprised to find that there are quite a few different names that these simple pillowcases go by.Sometimes they're called a burrito, sausage or a hot dog pillow case. Some people call them magic pillowcases. Still others call them rolled or tube pillowcases.
As far as I can tell they're all the same thing and they're SO easy to make!
Let's get started with this easy tutorial!
This post may contain affiliate links. As an Amazon Associate I earn from qualifying purchases. Please see my full disclosure policy for details.
FABRIC NEEDED FOR A MAGIC PILLOW CASE
These measurements will make a standard size pillowcase.You will need 3 pieces of fabric.
- 2" X width of fabric (42")
- 9" X width of fabric (42")
- 27" X width of fabric (42")
OTHER USEFUL TOOLS AND SUPPLIES
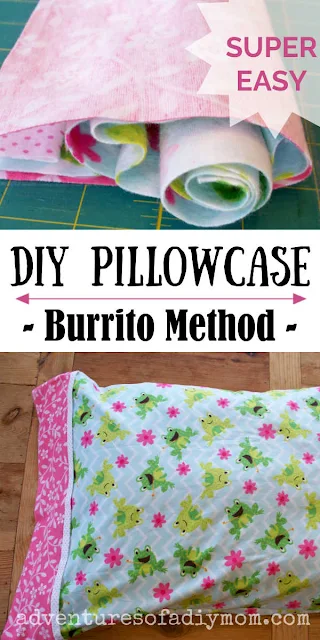
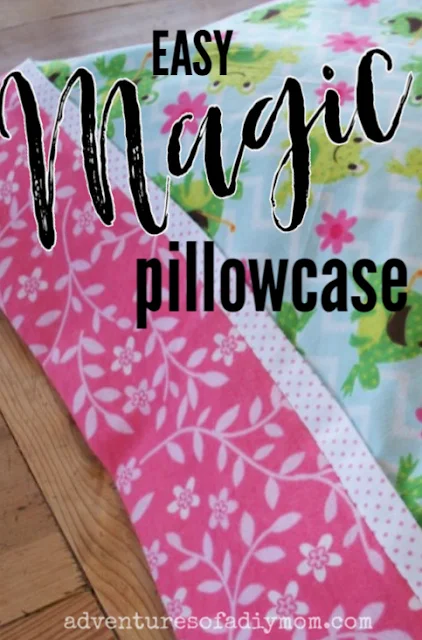
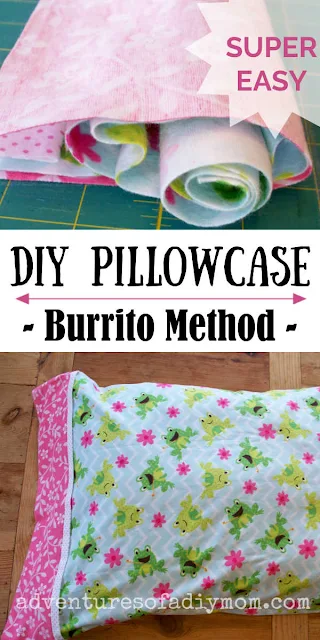
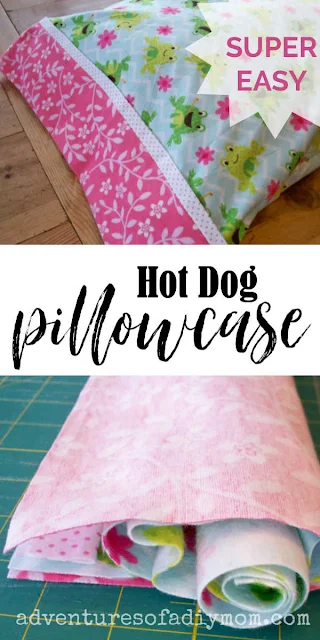
I love these cute little frogs! Such a fun fabric!
When the fabric comes off the bolt it is folded. Leave it like this and cut your measurements off of it.
Then place your pieces on top of each other while the fabric is still folded. They will most likely not be exactly the same length.
So trim off the selvage edge to make them all even.
Fold and press your 2" piece in half lengthwise.
Lay down your 9" piece face up. On top of it place your main fabric (the 27" piece) face up.
Then place your 2" folded piece on top with the opening at the top. Make sure to line up your fabric at the top.
Now roll up the 27" piece like shown above.
Now fold the bottom piece up over the top.
Make sure that all of your pieces are lined up along the top edge. Pin in place and stitch along the top of the rolled up fabric.
This is your first seam. I used a 1/4 inch seam allowance.
Now turn your tube right side out, pulling your fabric through the open short edges.
and this is what it will look like.
Fold your pillowcase in half, with right sides together. Now it's time to sew the side seams. Sew along the side and bottom of the pillowcase.
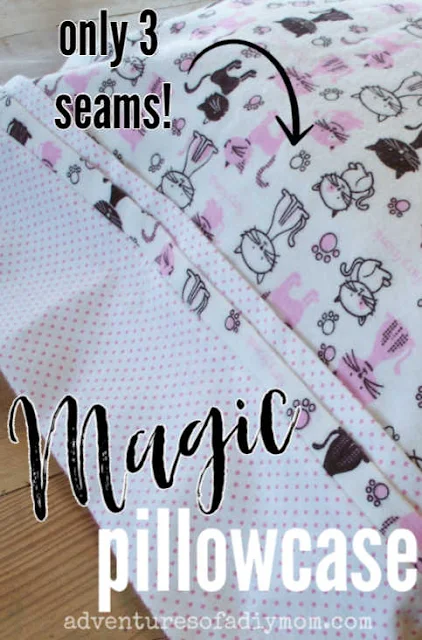
These are your second and third seams. Turn it right side out and you're done!
Here's another finished pillowcase.
TUBE PILLOW CASE VARIATION (WITH 4 PIECES OF FABRIC)
I also made another variation. It's just as easy. The only difference is you will start out with 4 pieces of fabric instead of three.
Main color:
27" X length of fabric
2" X length of fabric
Coordinating color:
9" X length of fabric
3" X length of fabric
Press your 2" and 3" pieces in half lengthwise.
Lay down your 9" piece face up. On top of it place your 27" piece face up. Then place your 3" and then your 2" folded pieces on top with the openings at the top. Continue with pillowcase as instructed above.
Here's my son's. I was worried about the flower pattern, but I really like the two fabrics together. He assured me that it wasn't too girly. And in a house full of girls, he's probably just glad it wasn't pink:)
So there you have it. Now go and make yourself or your kids some cute new pillowcases.

.jpg)
.jpg)
.JPG)
.JPG)
.JPG)
.JPG)
.JPG)
.JPG)
.JPG)
.JPG)
.jpg)
.jpg)
.jpg)
.JPG)
.jpg)
Rachel,
ReplyDeleteThank you for this tutorial. I made some pillowcases last year but this is a much simpler way!!
Great job Rachel! Lovely fabrics! Thanks for sharing this tutorial!
ReplyDeleteHave a wonderful day and week!
Hugs from Portugal,
Ana Love Craft
www.lovecraft2012.blogspot.com
such cute fabric choices!
ReplyDeleteMarie @
In Our Happy Place
Very, very cute! I have had the instructions for making these for years but have just never done it. Now I feel inspired!
ReplyDeletegreat tutorial! I love the little extra fabric rows!!! You've been featured today at the Create Link Inspire Weekend features over on Nap-Time Creations... {my blogs going through a few changes so ignore the dust ;o)} Emily@nap-timecreations.com
ReplyDeleteGreat technique and tutorial! I'm totally inspired to make some custom pillow cases now. You've been featured on Gingerly Made today.
ReplyDeleteThe best visual instructions! I tried two other sites and didn’t understand them! Thank you!
ReplyDeleteThank you for the kind words. So glad it was helpful!
DeleteHi,
ReplyDeleteI dont know what's wrong with me but I dont understand the rolling of the fabric part. Looking forward to hearing from you. X
It's kind of confusing to explain, and probably just as confusing to understand :)
DeleteBegin by laying your 9 inch piece of fabric face up. Place the 27 inch piece face up right on top of the 9 inch piece. Then place the 2 inch folded piece on top of the other two with the open edge along the edge. The edge that they all line up at I will refer to as the "top".
Roll up the long 27 inch piece all the way up to within a few inches of the top. Fold the bottom of the nine inch piece to meet the top. Pin in place, making sure to keep the 2 inch folded piece in place along the top as you go.
Sew along the top pinned edge. I hope that helps!
I have a bunch of scraps so when you say "length of fabric" that means nothing to me. Could you please give proper lengths and widths for the pillowcase. Thank you
ReplyDeleteThe measurements are 2" X 42", 9" X 42", 27" X 42".
DeleteI love making the burrito method pillowcases for my grandchildren! One step I add is French seams to enclose raw edges. Cute frog fabric!
ReplyDelete