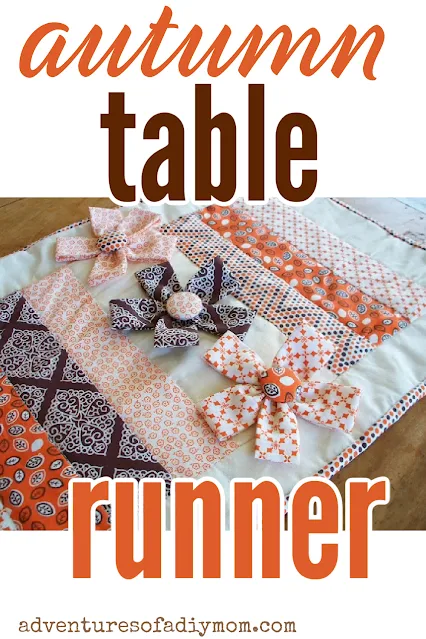
I wanted to make a table runner with this fun fall fabric I found on clearance. I searched the internet for a tutorial, but I couldn't find what I was looking for. So I made up my own pattern and I'm sharing it with you. See my spring quilted table runner.
I am not a quilter. I love to sew and make dresses or crafts. I am not precise enough, and don't know enough about it to consider myself an expert at the craft of quilting. I would welcome any helpful tips that may make this project better.
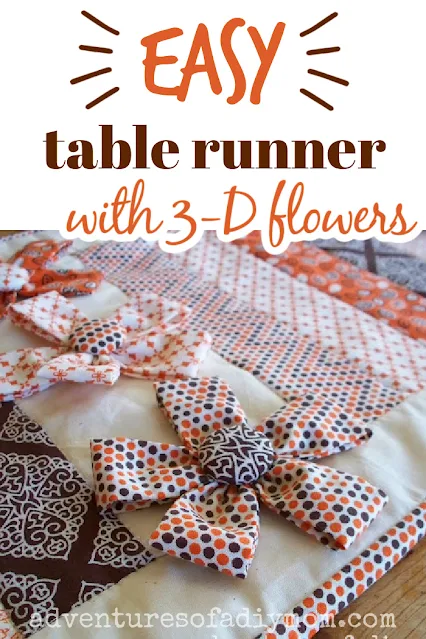
That being said, I think the table runner turned out rather well. And I love the dimension the fabric flowers give to it.
Want to make you're own table runner?
Fabric Cut List:
 Middle pieces:
13 pieces coordinating colors - 2 1/2" x 10 1/2"
2 pieces muslin - 4 1/2" x 10 1/2"
Borders {muslin}:
2 pieces 2 1/2" x 10 1/2"
2 pieces 2 1/2" x about 35" {Don't cut these long pieces to length until you've sewn together your strips. Then measure how long it ends up being and cut to that length. That way it won't end up too short.}
Binding:
3 strips the length of the fabric and 2 1/2" wide
Back and batting:
Approx. 35" x 15" of each batting and fabric. Don't cut this until you've sewn your top together.
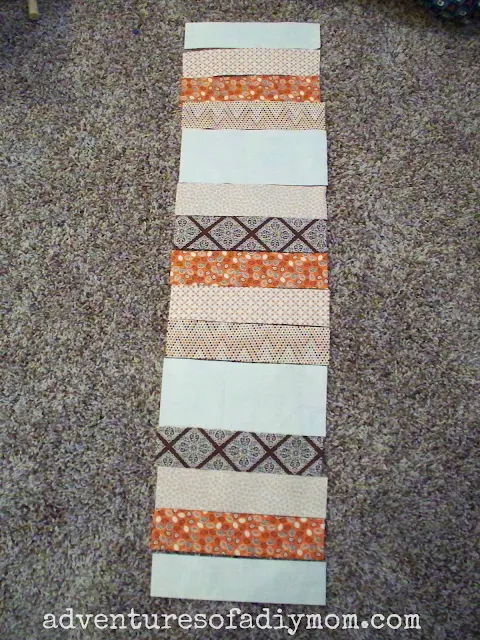
Lay out all your strips in the order you would like them, setting aside the long border strips for now.
Start with your muslin border, then place three 2 1/2" prints, then a 4 1/2" muslin strip, then five 2 1/2" prints, then a 4 1/2" muslin strip, then three 2 1/2" prints and finally your muslin border.
Sew each strip to the next with right sides together using a 1/4" seam allowance. Press flat.
Next measure and cut your side borders to length. Then sew them along the sides.
Now it's time to add your binding to the top. For more in depth instructions on how to sew on the binding see my How to Sew a Quilt Binding. For now just sew it to the top of the runner.
(If you prefer using a bias binding, see my new tutorial.)
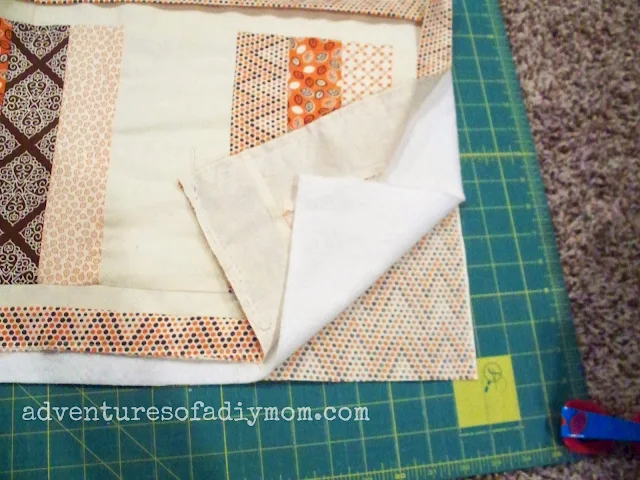
Cut out your batting and fabric. You want to make sure to cut them an inch or so bigger around the entire top. I didn't do this, and I ended up needing that extra one one side. You can always trim it down later.
Pin all the pieces together. Now if you're into quilting, you would probably hand quilt along all the seams. I am way to impatient to sit and do that, so I machine stitched it. One tip I have for those machine stitching - sew along all the short seams before stitching along the long border strips. I started on the borders and it ended up getting bunched up. So learn from my mistake.
Next finish up your binding. You will have to do this by hand. You can see how I do it by reading my How to Bind a Blanket Tutorial starting at step 4.
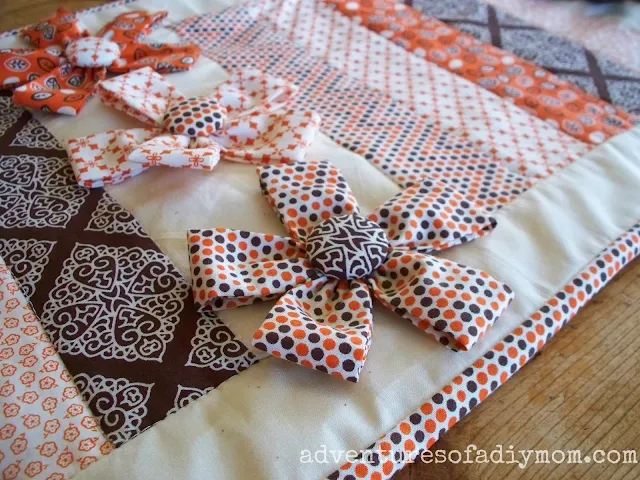
Now the fun part - adding the fabric flowers! These were super fun and easy to make -see my Fabric Flowers Tutorial. I just placed them on the runner and sewed just the button on. The button holds the flower in place. You may want to tack down the flower petals if you want them more secure. I didn't think it was necessary, or more accurately, I wanted to be done :)
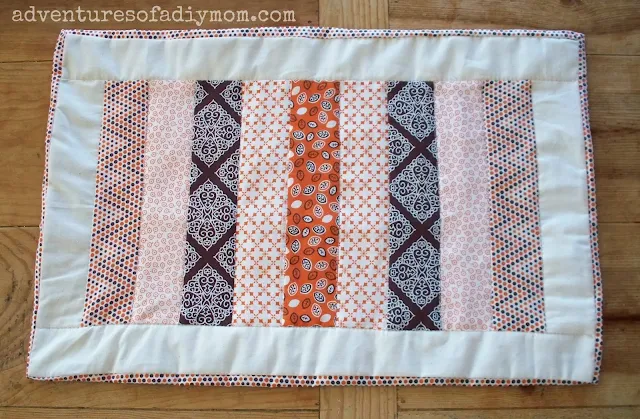
Here's an overhead shot. You can see that it's not perfectly straight. I'm just too impatient to take my time and make sure all my seams are perfect.
But it still turned out pretty darn cute.
I also made a smaller one with the leftover strips. This one sits on my bar.
Tell me what you think.
Need more fall craft ideas? Check out my latest post: DIY Fall Crafts. Or crafts for fall from my favorite crafters.








This looks so cute and fun! I'm not a huge quilter but I think I might try this. Pinning!
ReplyDeleteI love the textures and colors of this table runner...though, I am afraid my kids would want to take it off the table and sleep with it! :) Pinning for sure! Hopping over from Tater Tots and Jello party.
ReplyDeletewww.mamagetsitdone.blogspot.com
I'm about half way through my own version, I'll definitely check out your binding tutorial when I get to that bit. G+ folowing so I can find you again!
ReplyDeleteThanks
Thanks for linking up to Take-A-Look Tuesday over at Sugar Bee Crafts - you were featured today!
ReplyDelete--Mandy, SugarBeeCrafts.com
Your runner is so festive for fall. Thanks for sharing at Cooking and Crafting with J&J.
ReplyDeleteThis turned out darling, and really caught my eye! I love how you added the fabric flowers to the runner! A perfect accent on your table for fall! Great tutorial :)
ReplyDeleteI love it, it turned out great!
ReplyDeleteThank you for sharing at The Really Crafty Link Party. Pinned.
This is such a beautiful table runner! I love the fabrics you used, and the flowers are lovely! Pinning!
ReplyDeleteHow pretty - I love the addition of the flowers! Thanks for sharing with us at The Blogger’s Pit Stop!
ReplyDeleteGreat idea .. thank you for this :)
ReplyDelete