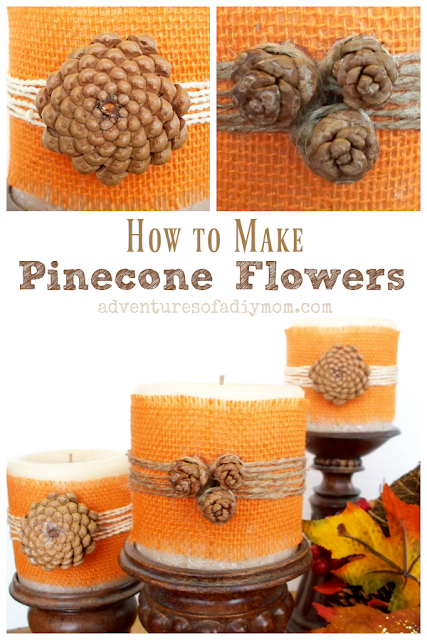
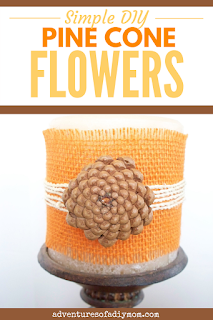
Learn how to make a flower out of a pine cone. Pine cone flowers add a rustic flair to your decor. They're inexpensive (even free!) and readily available..jpg)
Fall is definitely in the air. I love to decorate for Halloween/Fall, but I don't like to spend money to do it. Basically I bring out the same decorations year after year. And sometimes I'll make something new.
This year, as I was pulling everything out, I felt like I wanted to add something new. However, I didn't want to spend any money. I remembered something I had pinned last year and that was my inspiration.
How to Make Pine Cone Flowers
We have 4 pine trees in our yard, so we have an abundance of pine cones. In fact, I've started collecting some for Christmas time. The candles are normally on my piano, I just wanted to dress them up. Everything else I had in my stash.
Update: I've also used this technique to add some pine cone flowers to a fall wreath.
Supplies Needed:
candlesburlap
twine
pinecones
hot glue gun
hand saw
I encourage you to use items you already have. Maybe you don't have twine, but you have some leather cord. Use what you have! Nothing is more satisfying than making something new and creative without spending money.
First cut your burlap to size and wrap tightly around your candle. Secure with hot glue.
Next wrap twine around your candle. I went 5-6 times around. You could hot glue the ends, but I just tucked them under each other.
Cutting the pine cones
Now to make your flowers. Grab a pine cone and cut off the end. This is a LOT more work than I imagined it would be. They are actually made of wood. I don't know why I didn't realize that. :)
You will definitely need a small hand saw. For two of my flowers, I just used the end and hot glued it in place.
Tip: When I used pine cone flowers for my fall wreath, I used a scroll saw to cut off the end piece. It worked so much better and was a lot quicker than using a hand saw.
Then I noticed the tops looked like budding flowers. So I decided to use those parts too.
Start by pulling the pieces of the pine cone down that you don't want.
Secure tightly with a bit of twine. It will fall apart if you don't.
Cut just under the twine.
Trim your twine and hot glue to your candle. I left the twine on to keep it secure.
Here they are on my piano.
Have you made any inexpensive fall crafts this year?
You may also like:


.JPG)
.JPG)
.JPG)
.jpg)
.JPG)
.JPG)
.JPG)
.jpg)
.jpg)
.JPG)


This is a great project!
ReplyDeleteHugs!!!
Lovely!
ReplyDeleteGreat idea!
ReplyDeleteThese are gorgeous! I have 4 daughters and I think we'll be making these in their school holiday next week here in England! Saw your project at Cupcakes & Crinoline and have linked up for future fab ideas! Have a great week! Lisa @ Vintage Celebrations
ReplyDeleteThis looks like a good bit of work, but definitely well worth it in the end. Those candles look really fancy. Thank you for sharing this tip with us.
ReplyDeleteSo cute! I love how much they actually look like flowers :o) Thanks for linking up to tasteful Tuesdays... YOU are featured today... head over and check it out... I've shared your feature on all my favorite social media and I would love for you to as well!!! thanks! EMily@nap-timecreations
ReplyDeleteThat's just so pretty! And son simple to make too (as long as you use a saw).
ReplyDeleteThank you for sharing at The Really Crafty Link Party. Pinned.
These are so pretty. I can see using the pine cone flowers in so many ways. Thanks for sharing at the Snickerdoodle Create Bake Make Party.
ReplyDelete